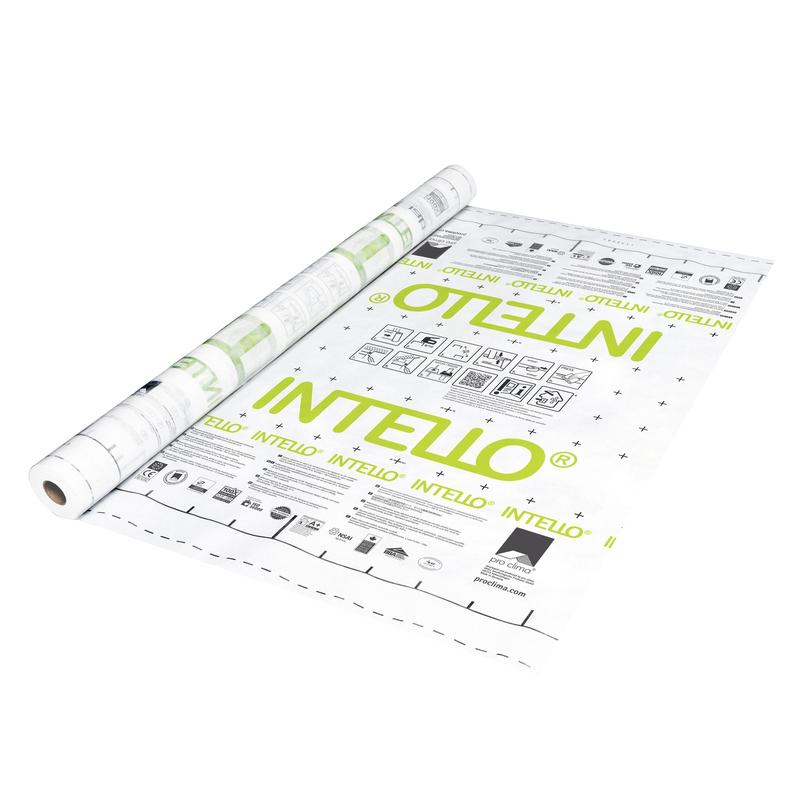
INTELLO
Hydrosafe® high-performance vapour control membrane, suitable for all fibrous insulation mats and boards
Item number: 10090 | GTIN: 4026639011190
Advantages
- Best possible protection against moisture damage to structures and mould because this product is humidity-variable with a variation of a factor of over 100
- Long-term protection: performance tested and certified by independent testing authority (ETA-18/1146)
- Well-protected winter building sites thanks to hydrosafe® behaviour
- Can be combined with all fibrous insulation mats and boards
- Easy to work with: dimensionally stable, no splitting or tear propagation
- Excellent values in hazardous substance testing, has been tested according to the ISO 16000 evaluation scheme
Areas of application
Vapour control (alternate terms: vapour check or retarder) membrane for use on roofs, walls, ceilings and floors on structures that are open or closed to diffusion on the exterior, e.g. flat/pitched roofs and green roofs, after appropriate design calculations have been carried out.
Installation steps
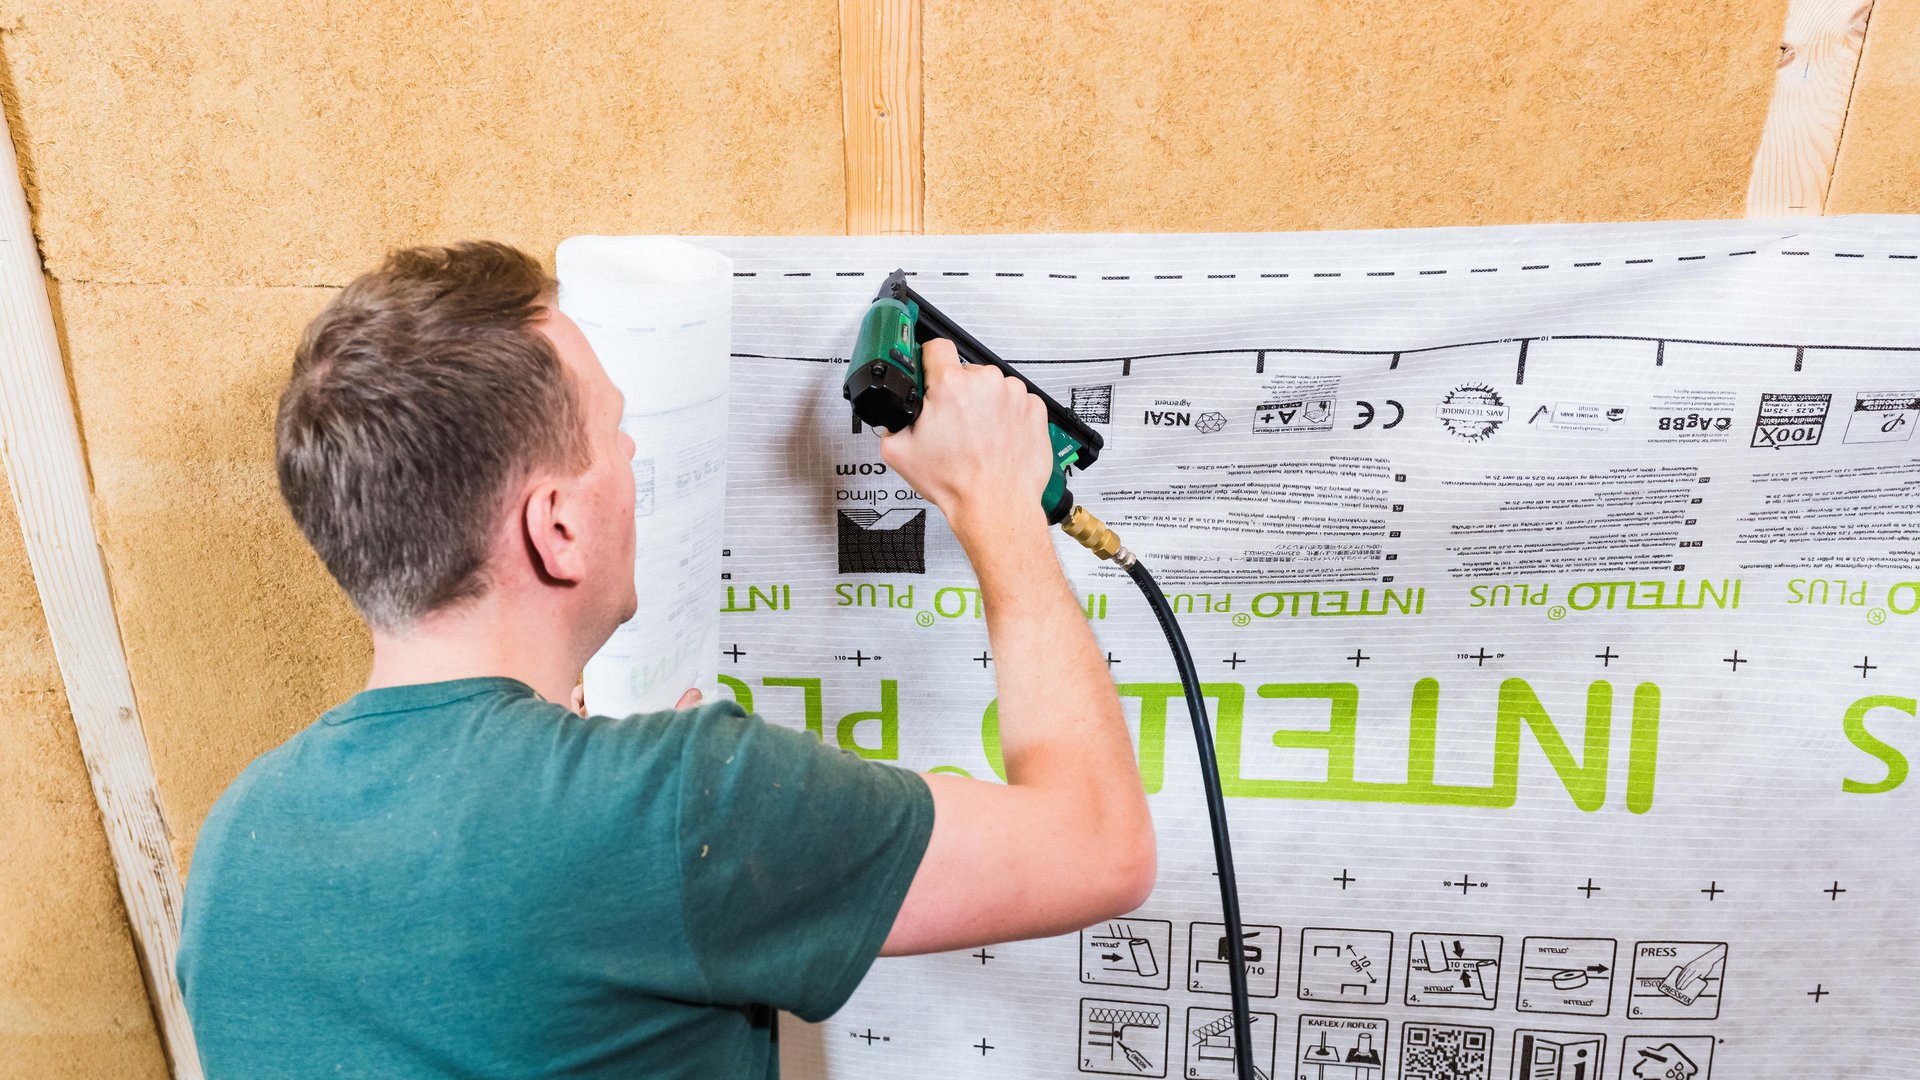
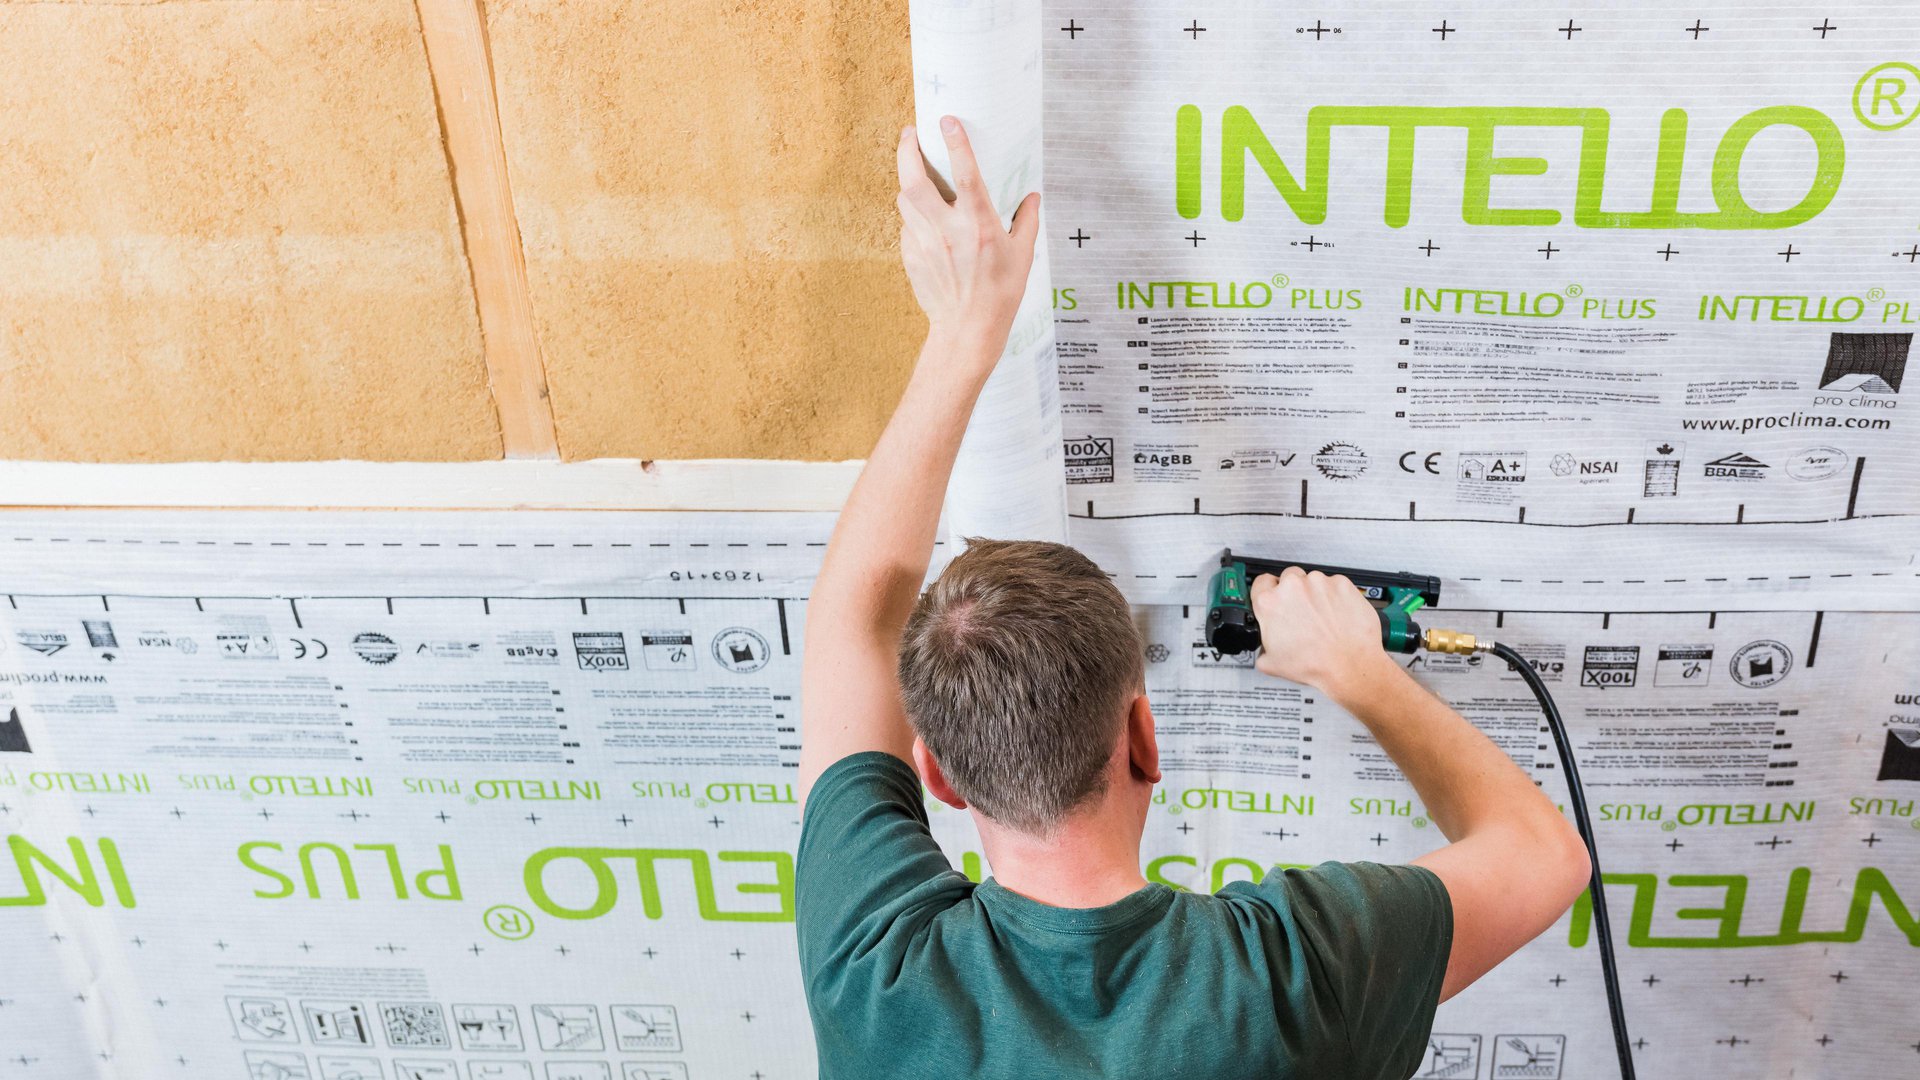
1. Install the membranes
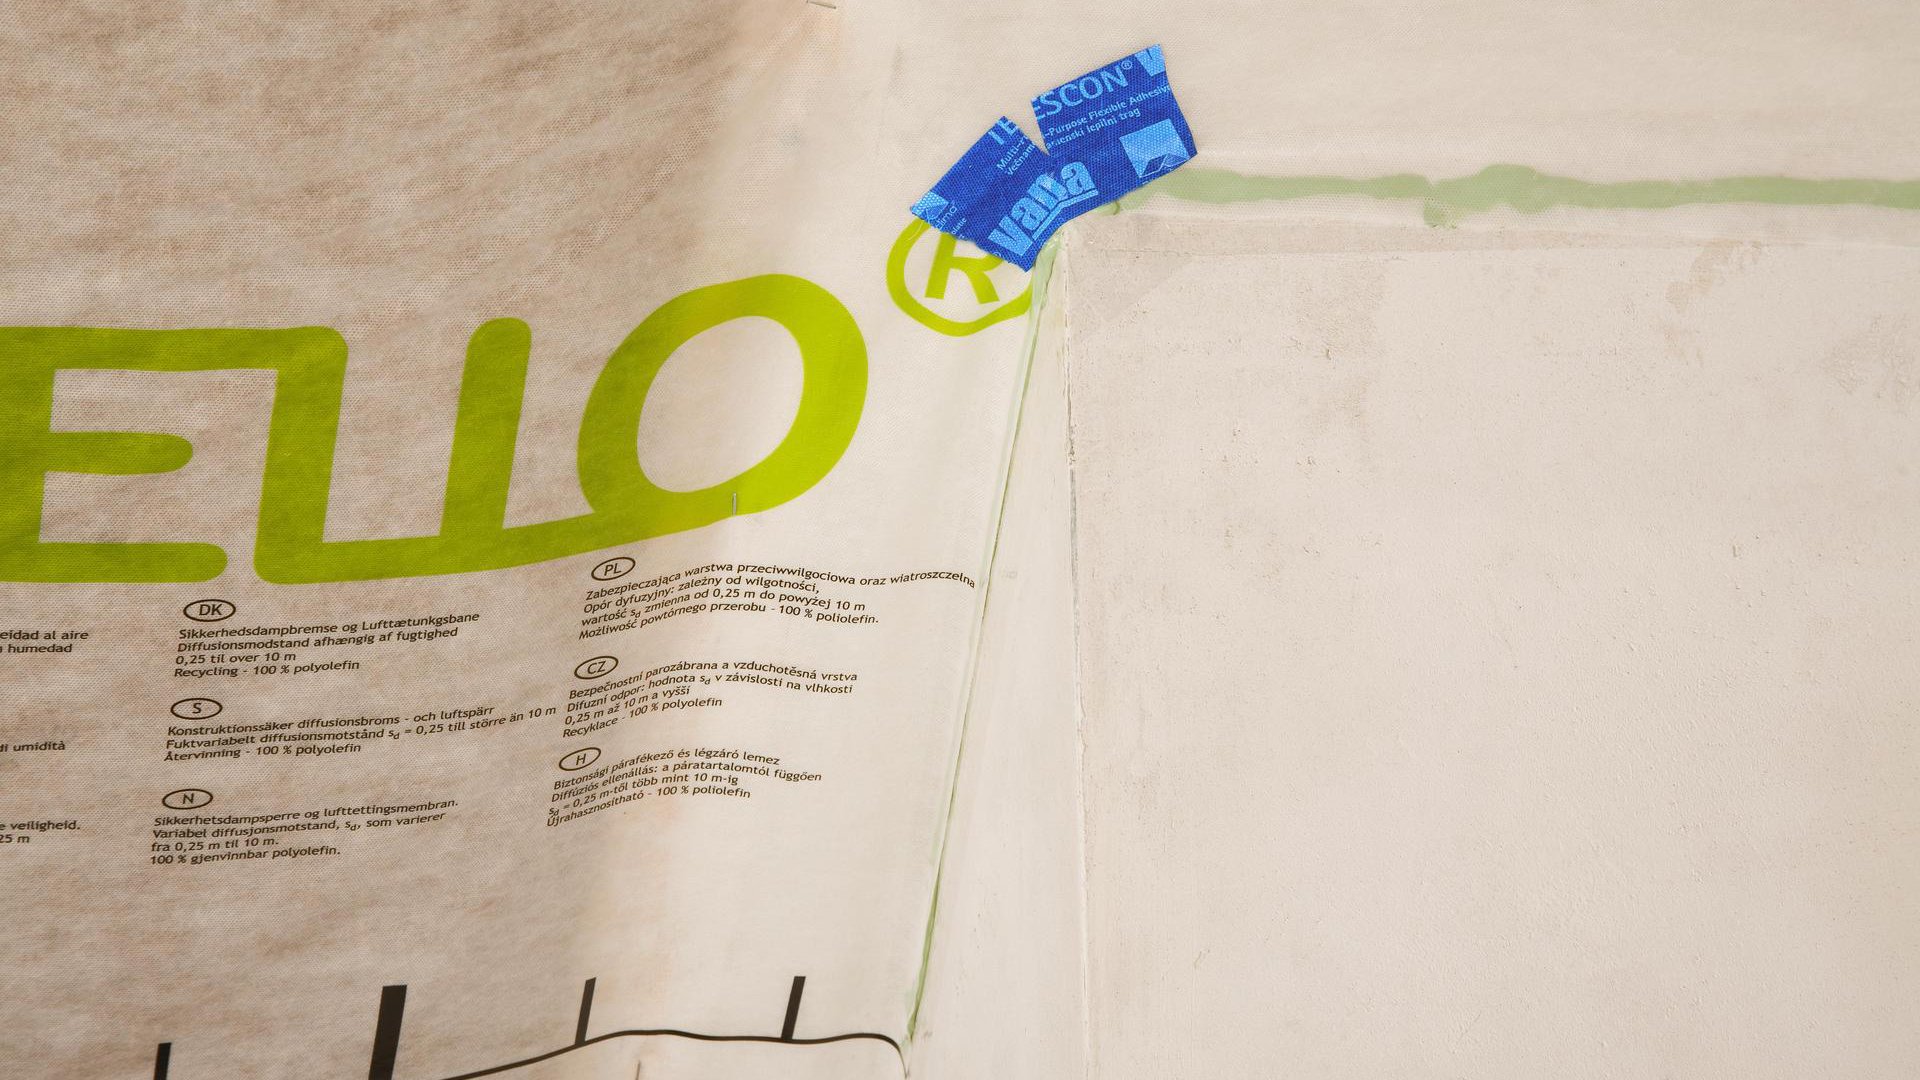
Roll out the membrane and fasten it using galvanised staples that are at least 10 mm wide by 8 mm long at intervals of 10-15 cm or, if blown-in insulation is to be installed, 5-10 cm. Install the membrane leaving an additional 4 cm overlap at adjacent building structures so that an airtight bond can be applied here subsequently.
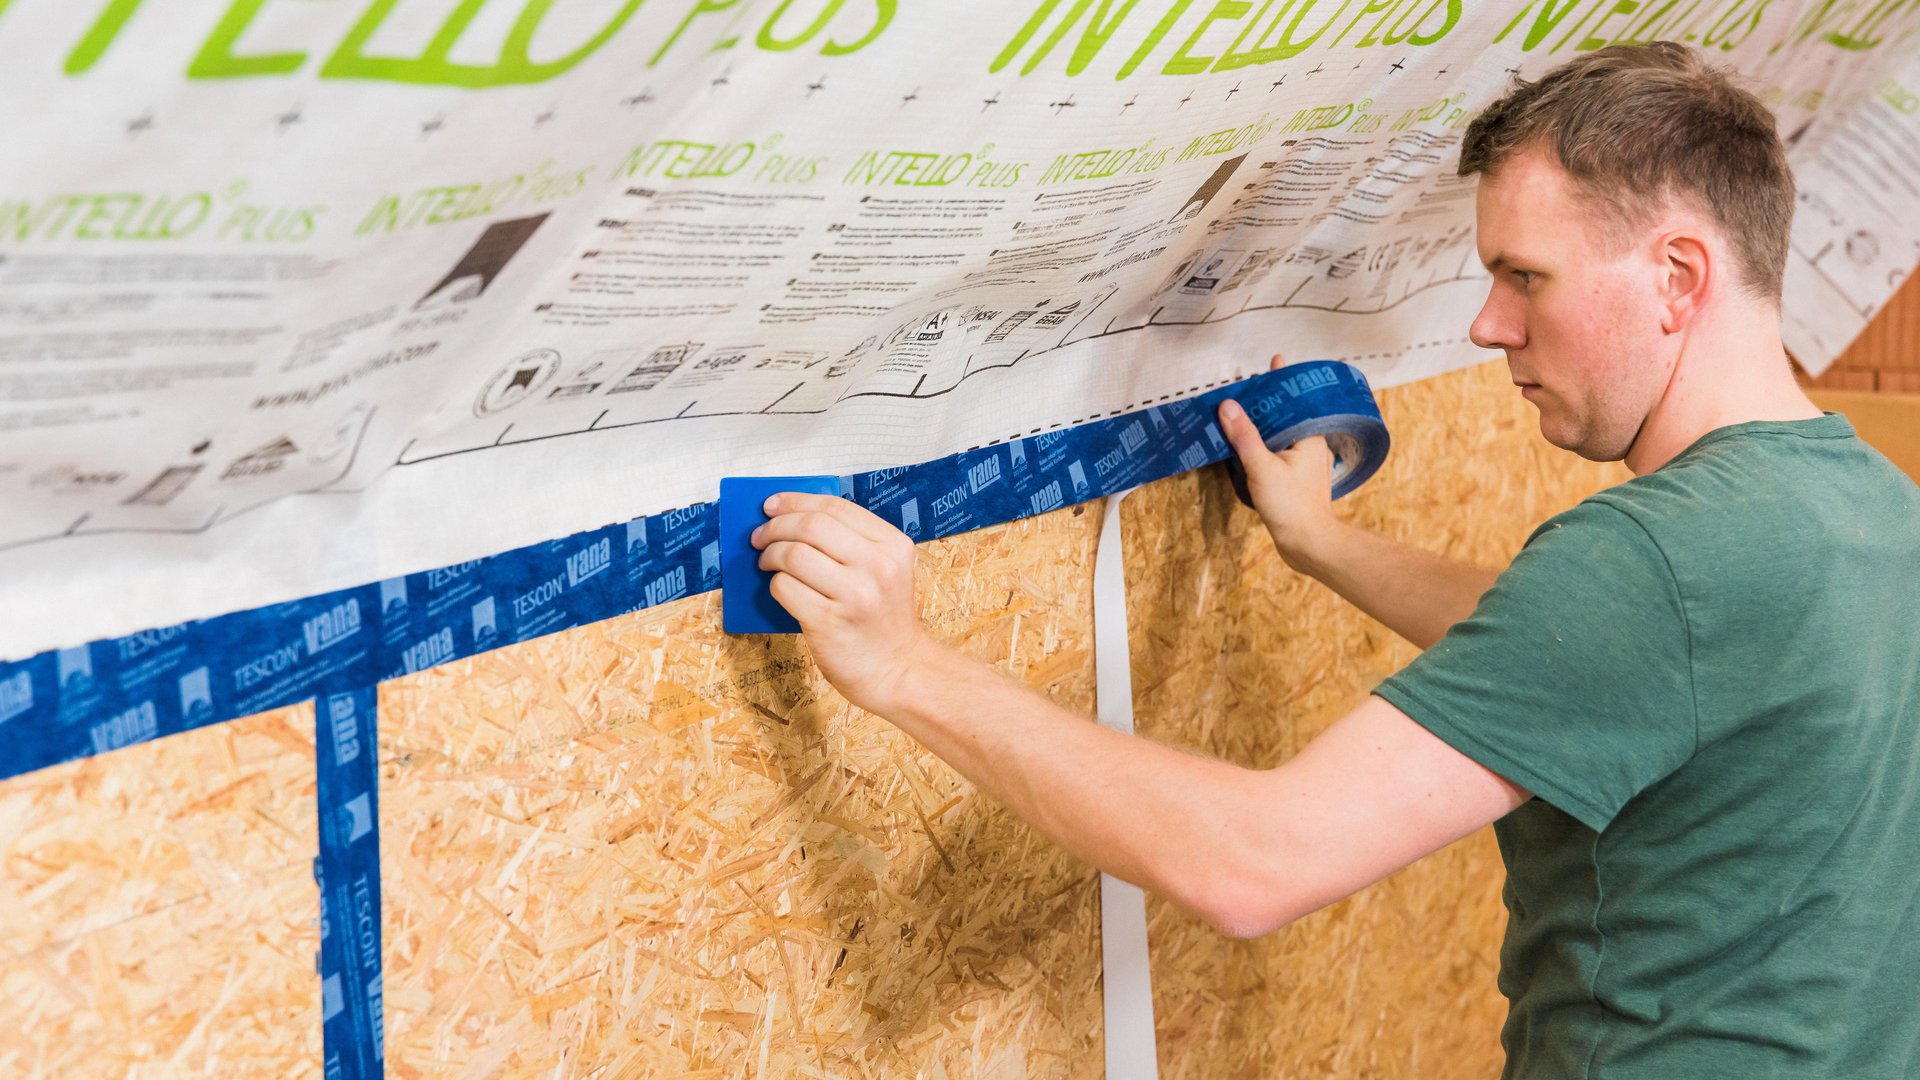
2. Fasten to stud wall frame members
Fastening of membranes to metal frame members on stud wall and ceiling structures using DUPLEX. Stick the membrane, ensuring that there are no folds or tension. Rub using the PRESSFIX application tool to secure.
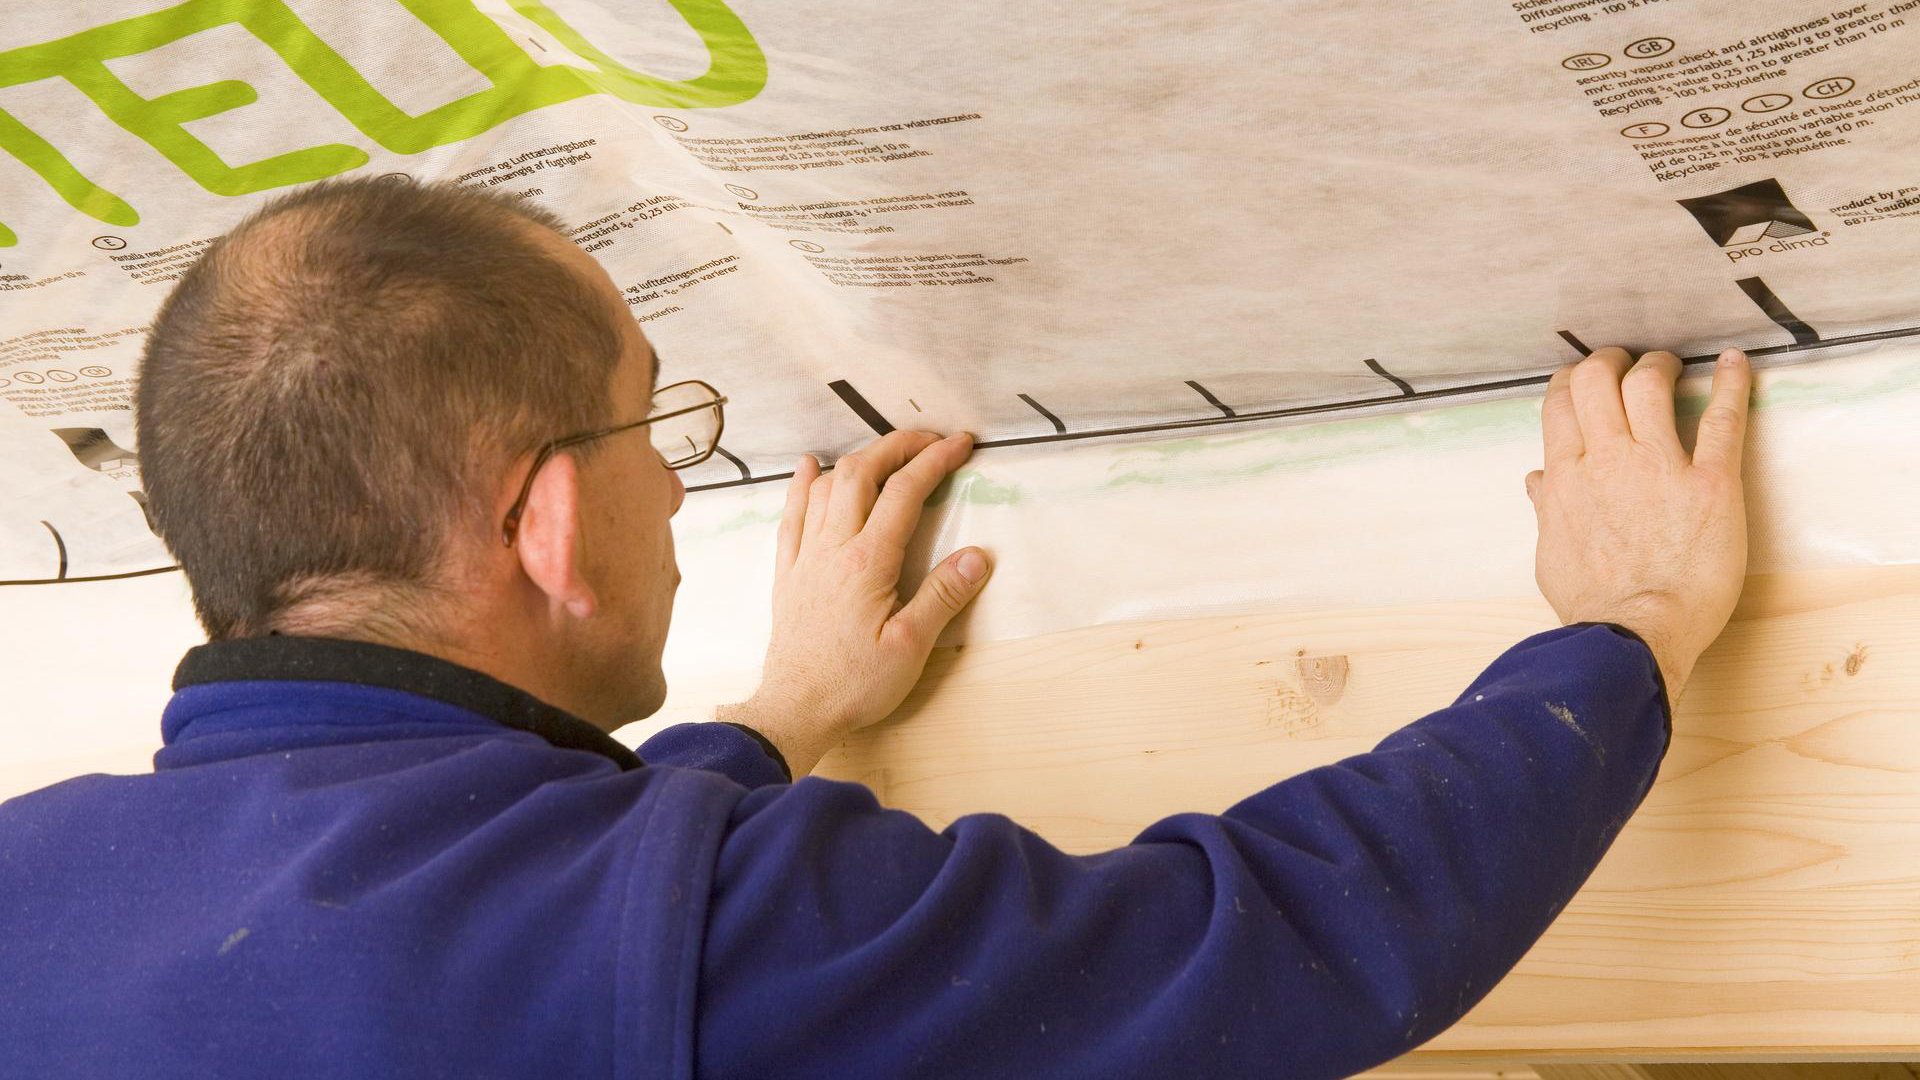
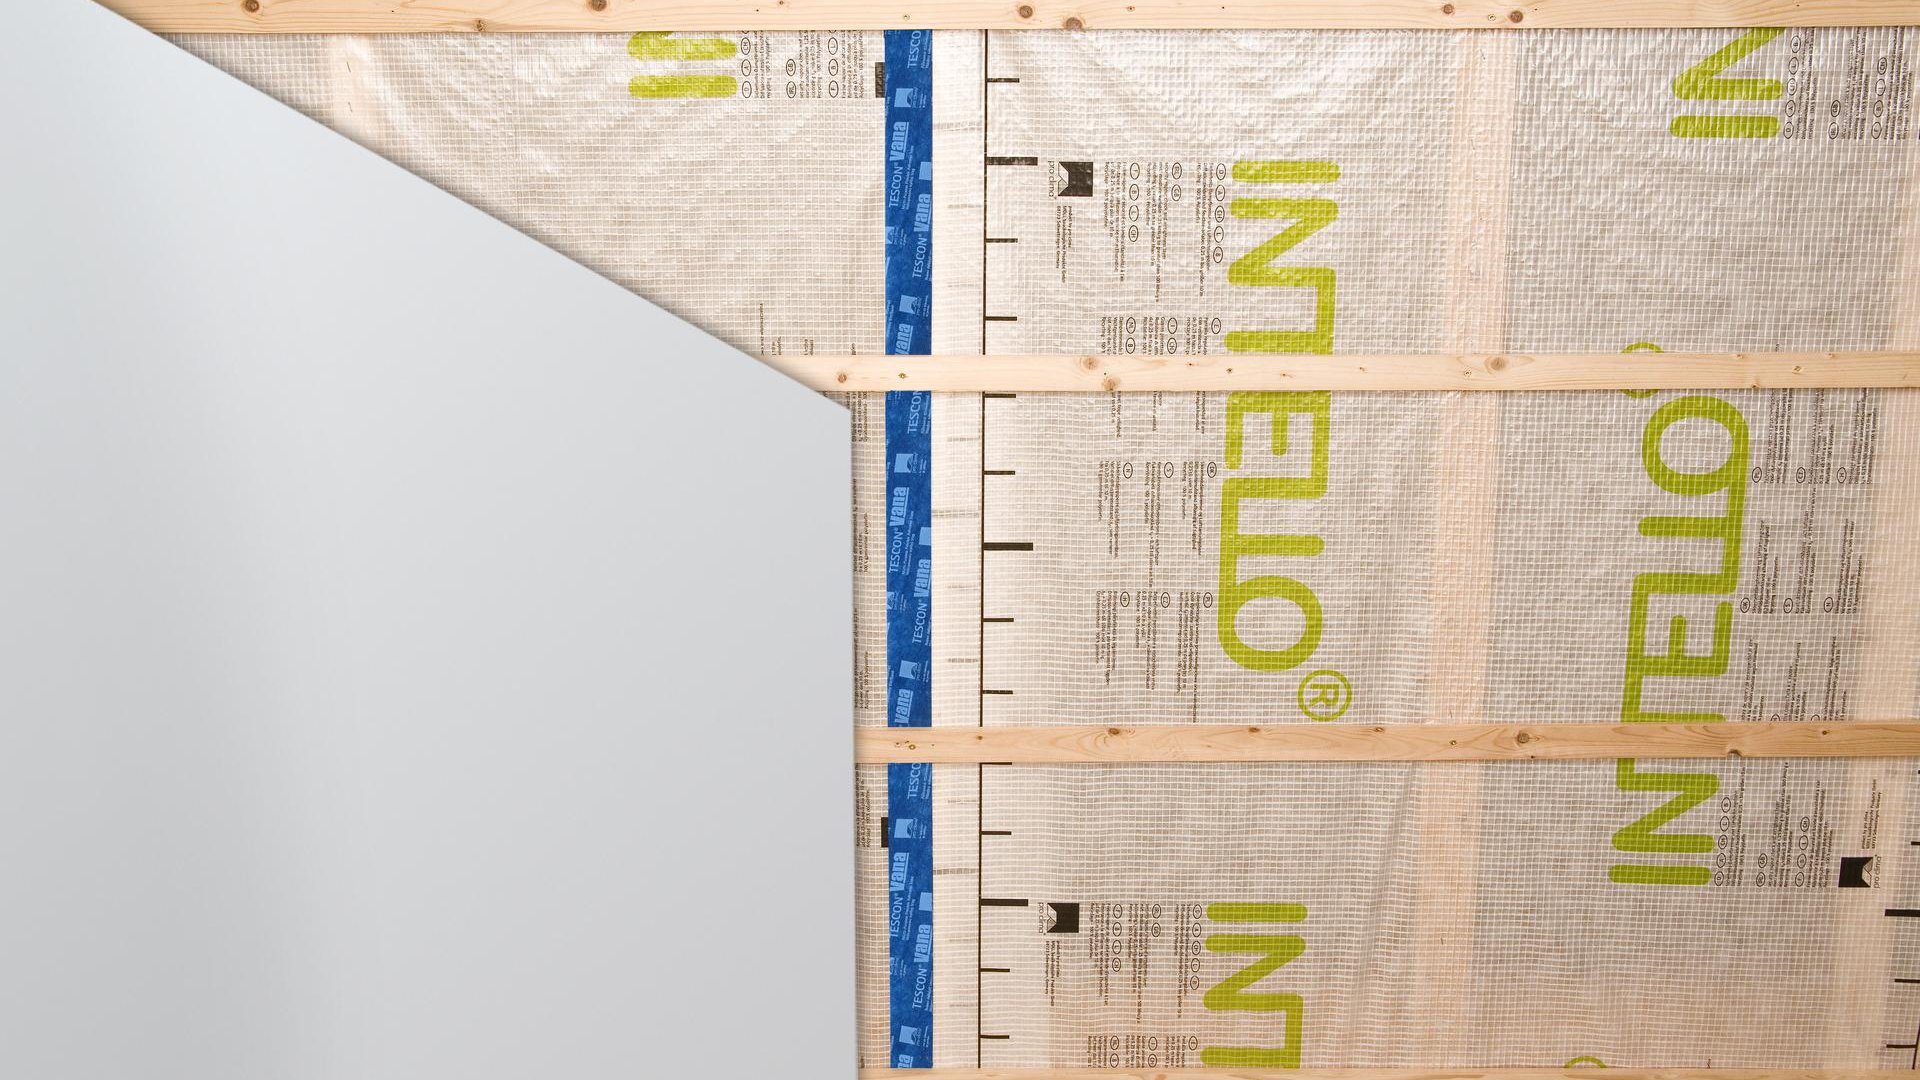
3. Overlap the membranes
Allow for an overlap for at least 10 cm between the membranes. The marking that is printed onto the membrane will serve as a guide here.
4. Clean the subsurface
Clean the subsurface (dry and free of dust, silicone and grease) before taping; carry out an adhesion test, if necessary.
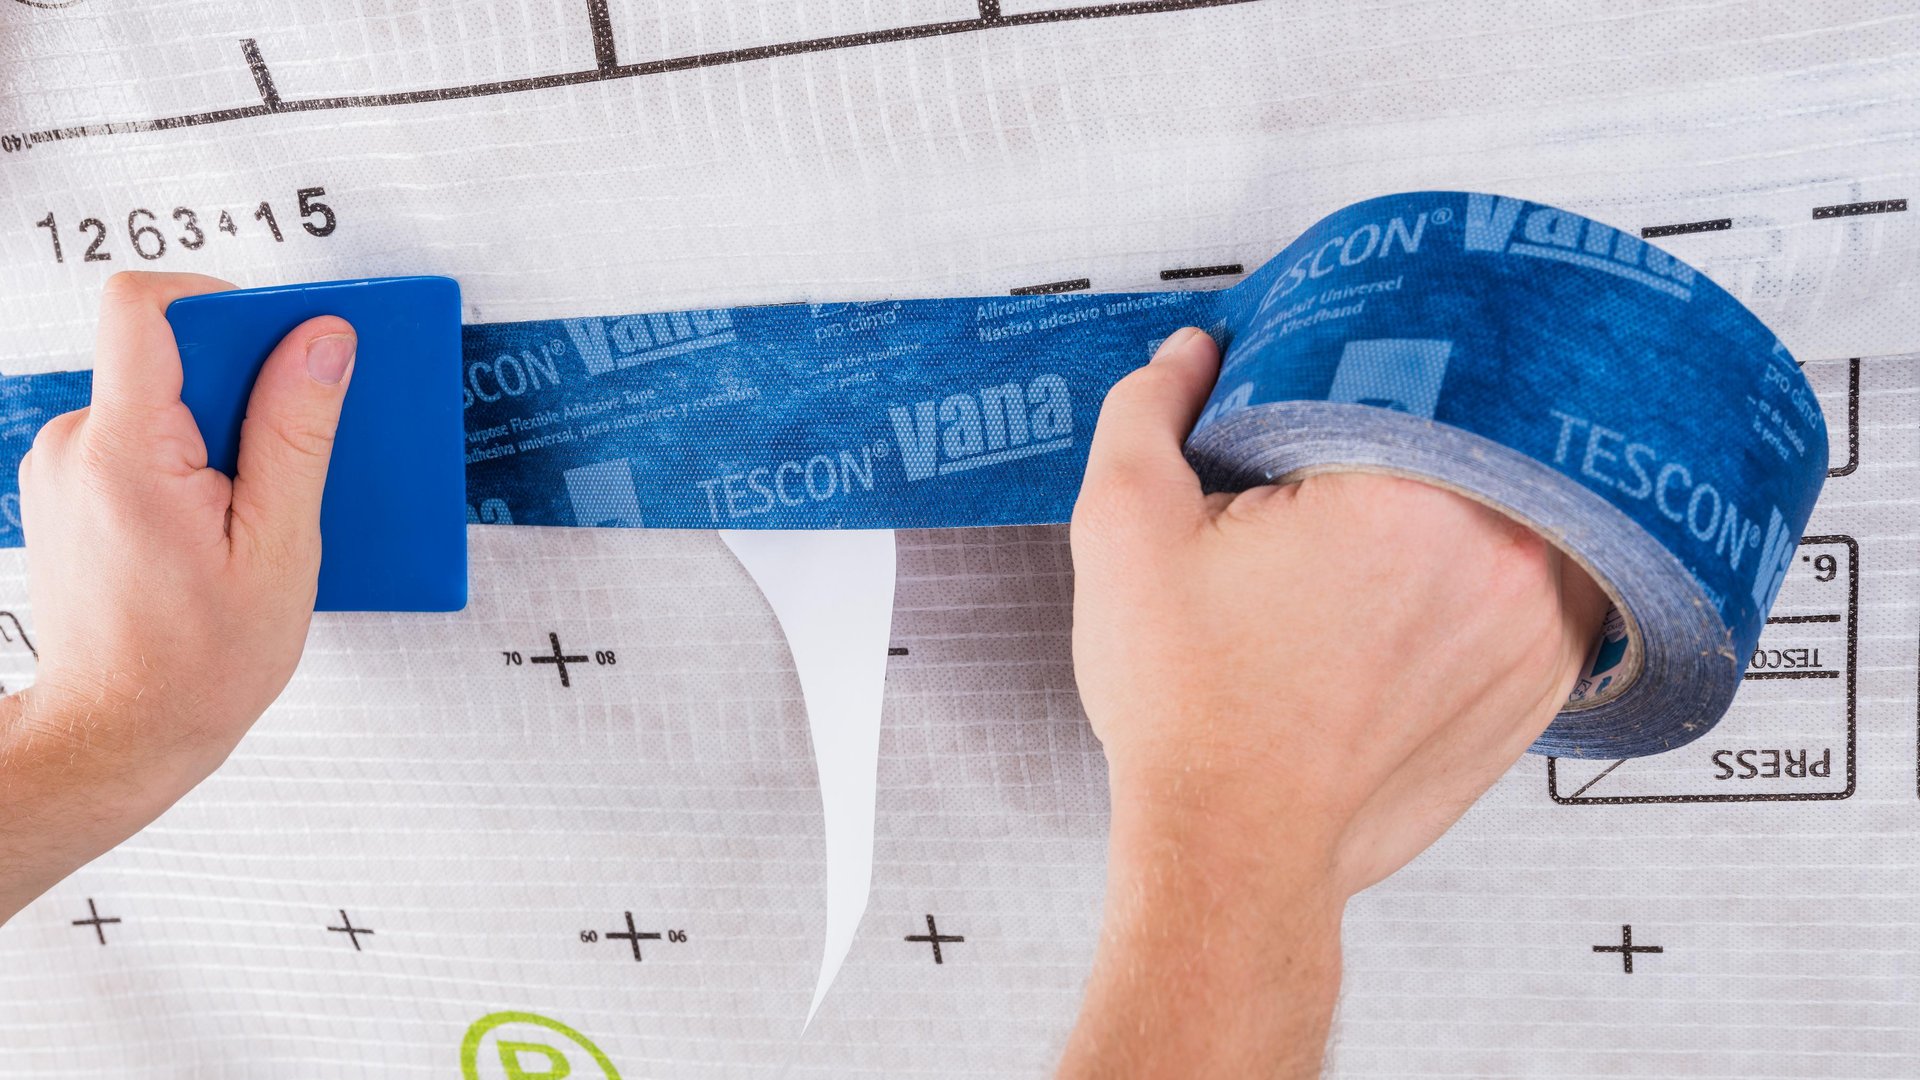
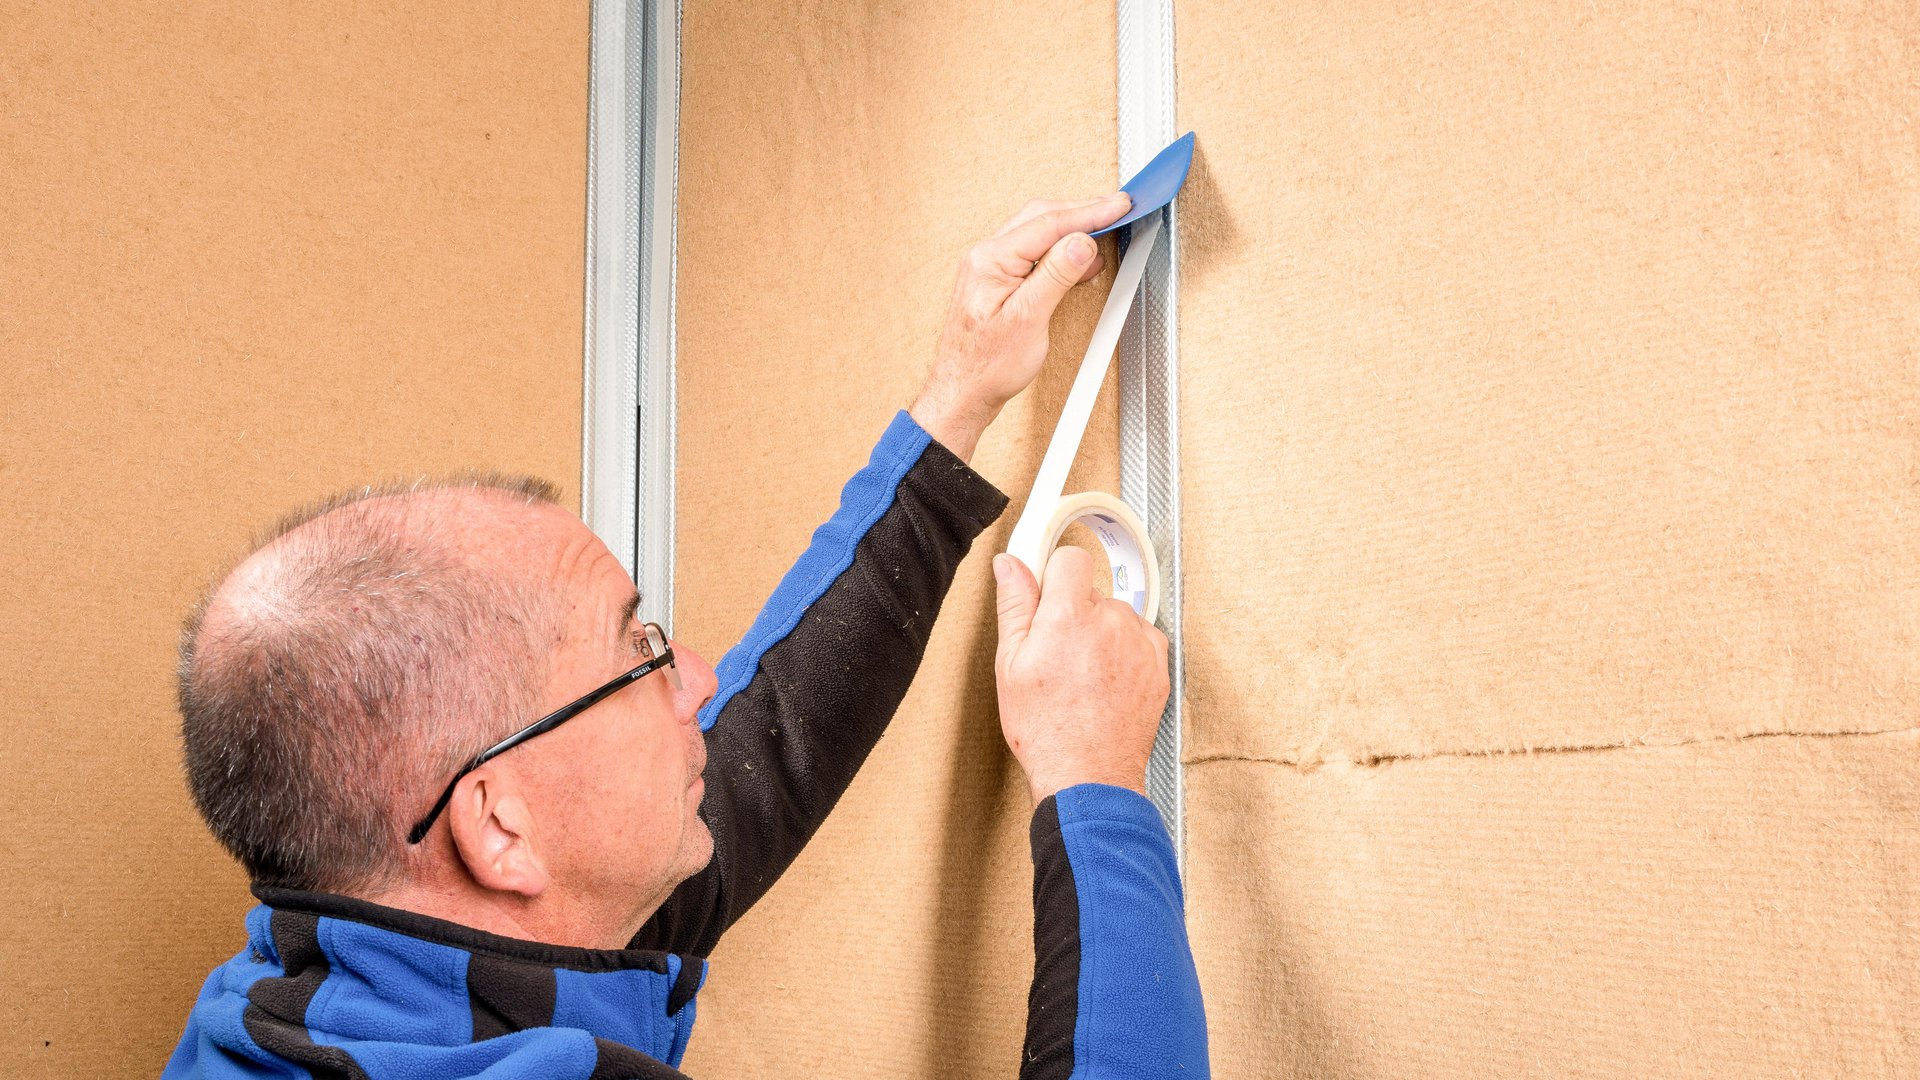
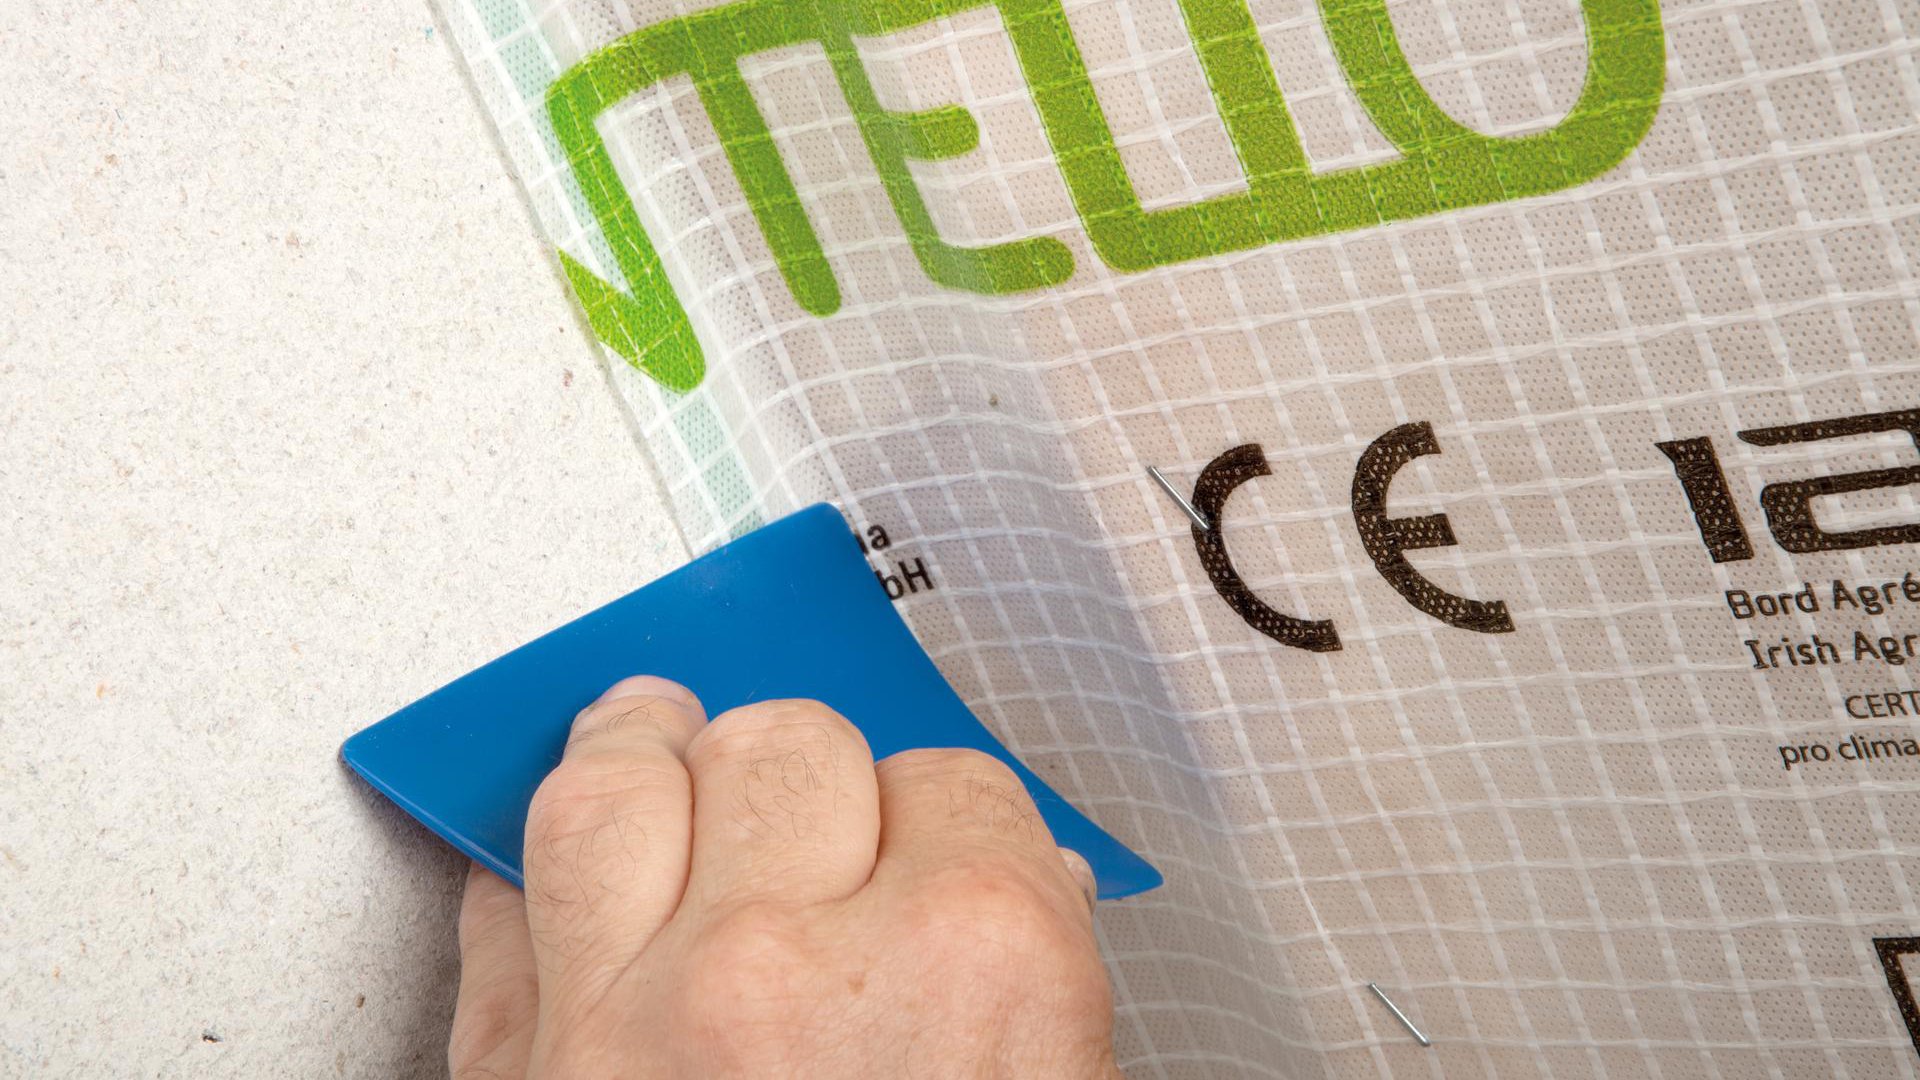
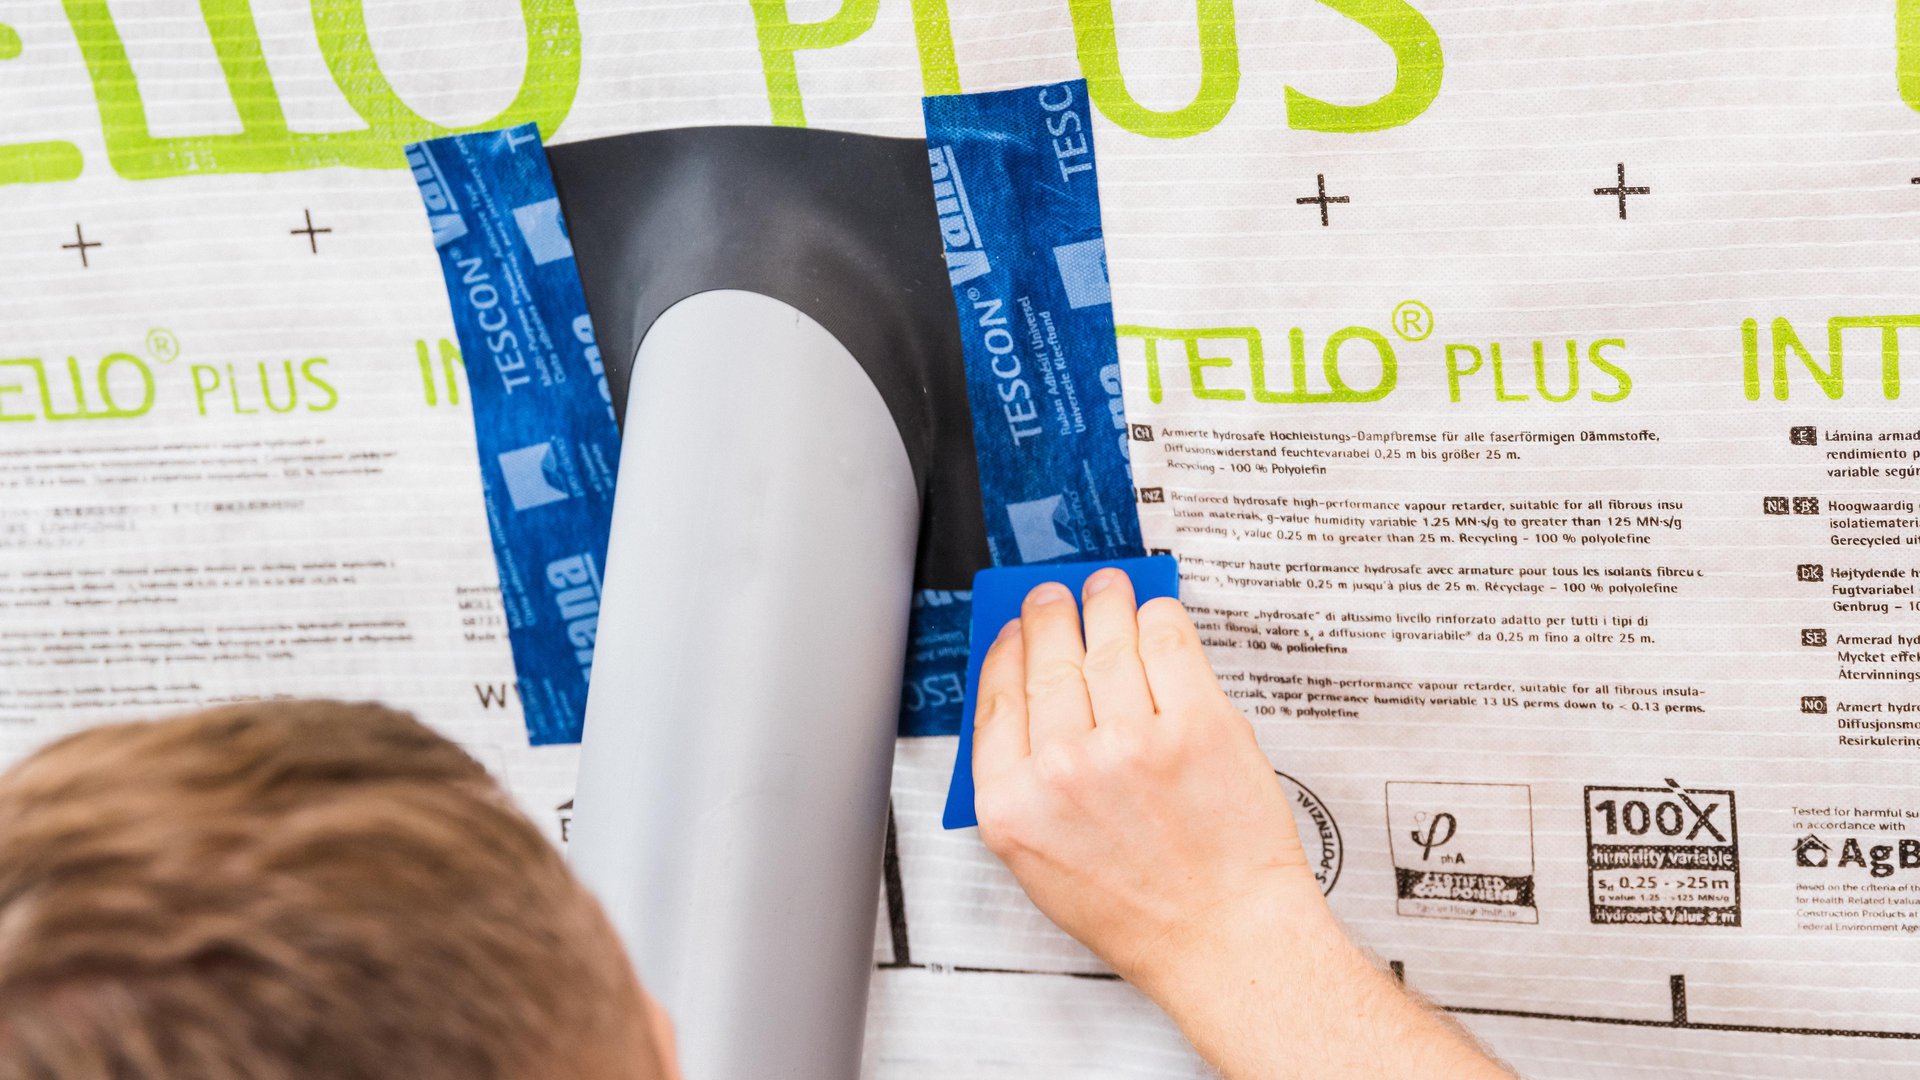
5a. Tape the overlaps
Centre the TESCON VANA system adhesive tape on the overlap and gradually stick it in place, ensuring that there are no folds or tension.
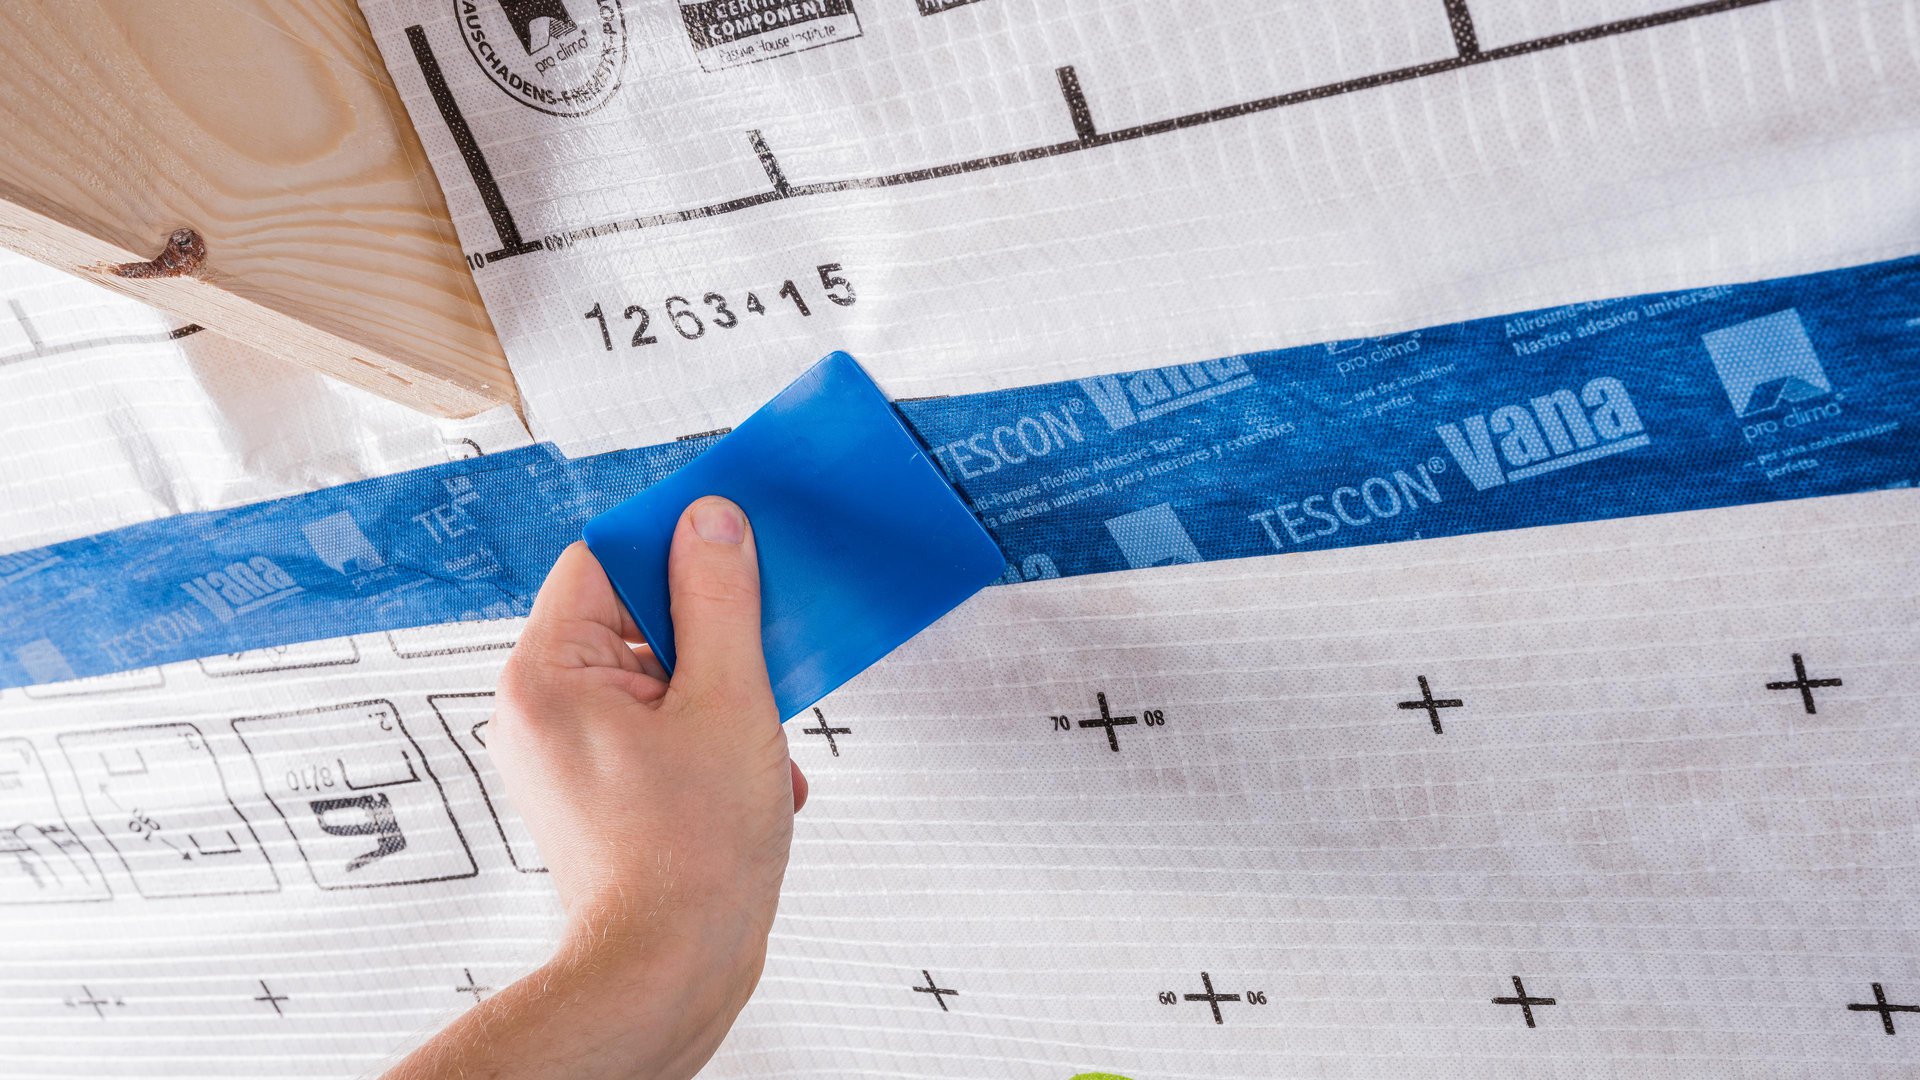
5b. Rub the adhesive joint firmly
Rub the tape firmly using the PRESSFIX to secure the adhesive bond. Ensure that there is sufficient resistance pressure.
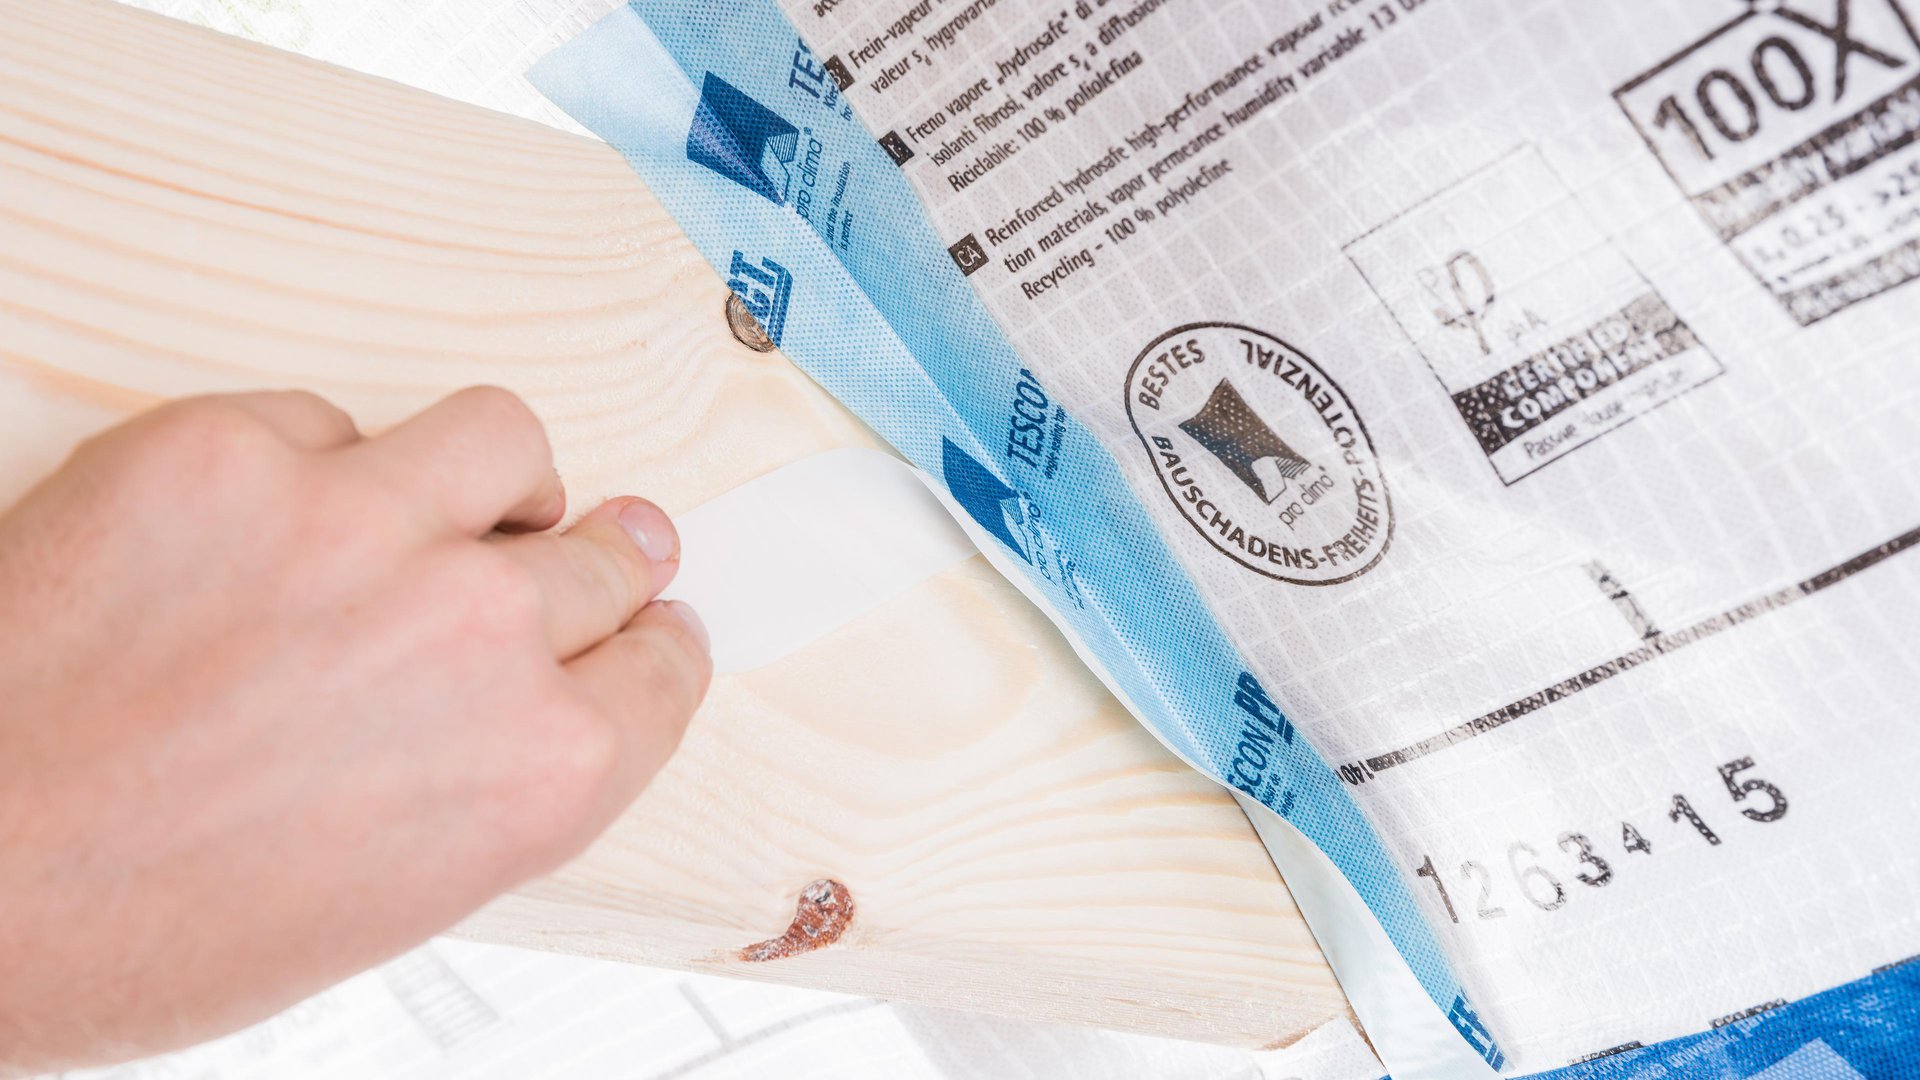
6. Sealing to smooth, non-mineral subsurfaces …
… (e.g. knee walls made of wood-based panels) should also be implemented using TESCON VANA system adhesive tape. Centre the tape and gradually stick it in place, ensuring that there are no folds or tension. Rub the tape firmly using the PRESSFIX to secure the adhesive bond.
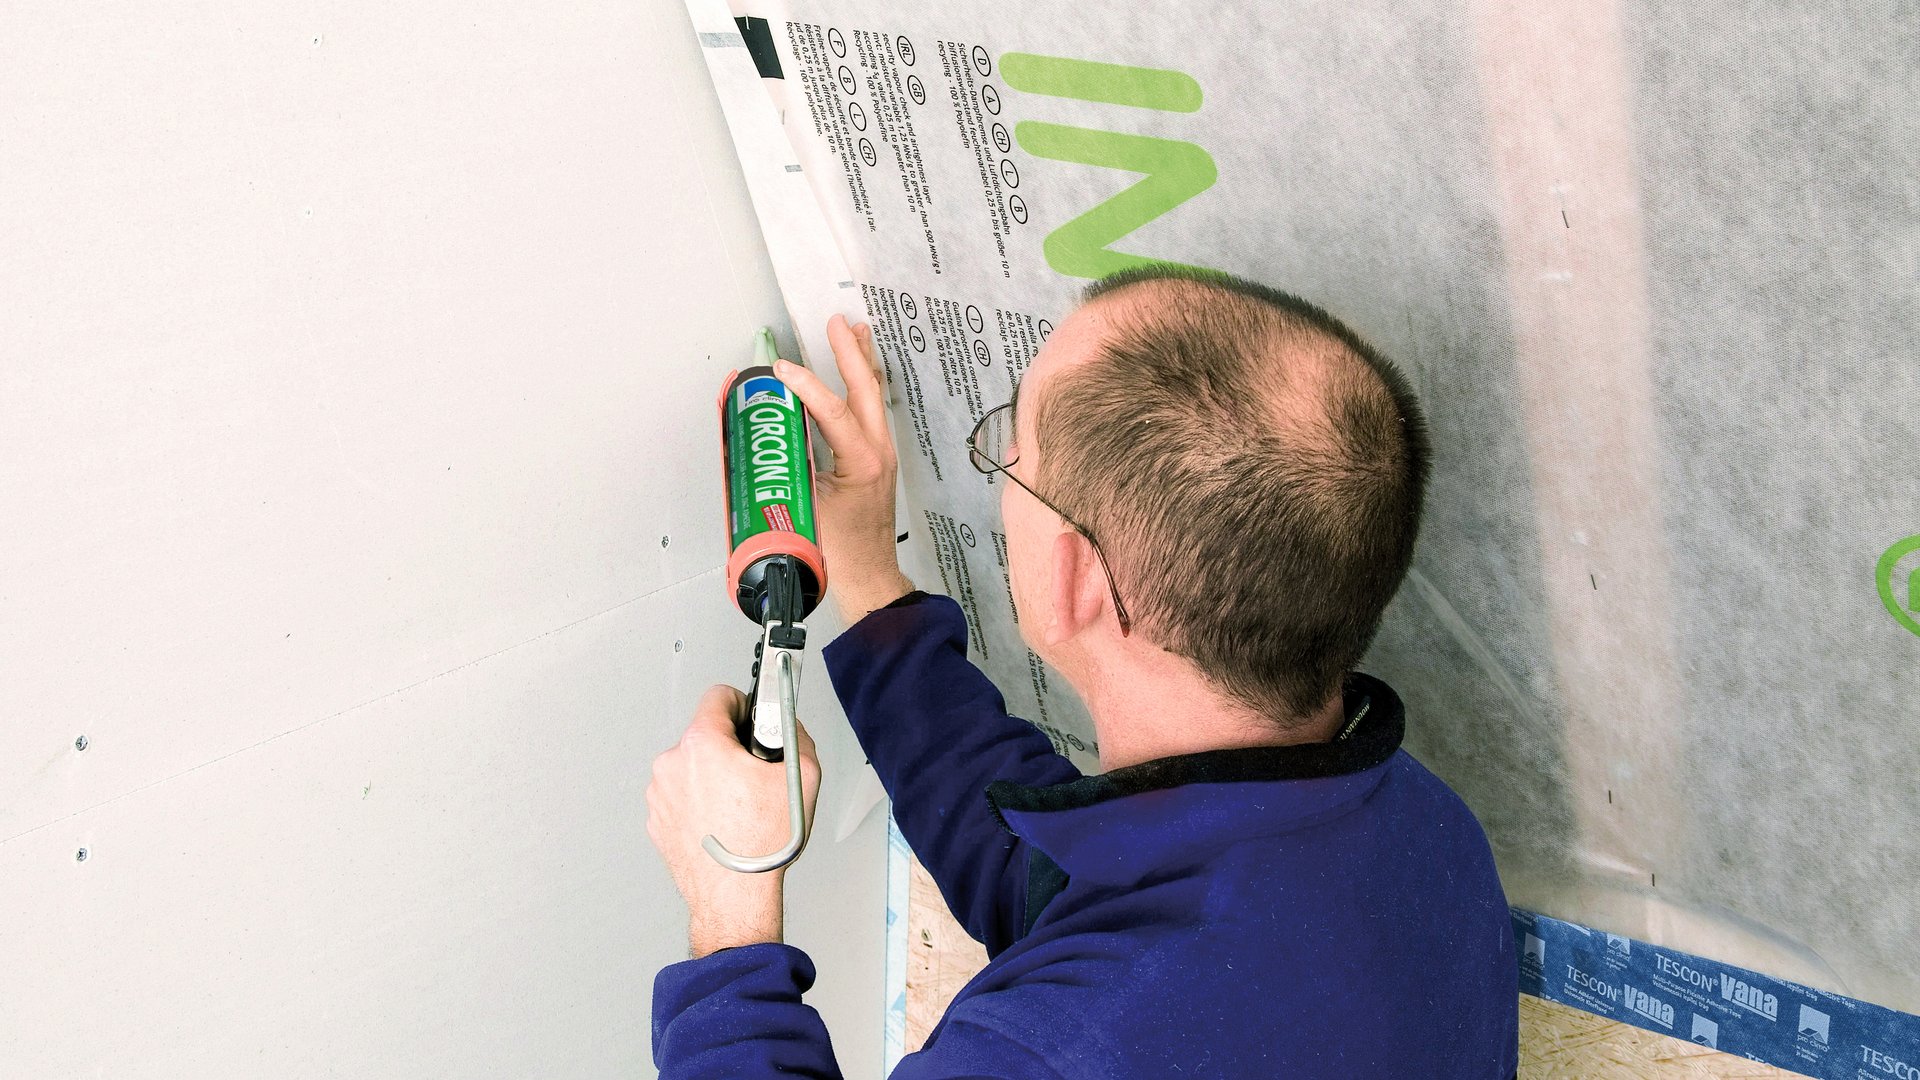
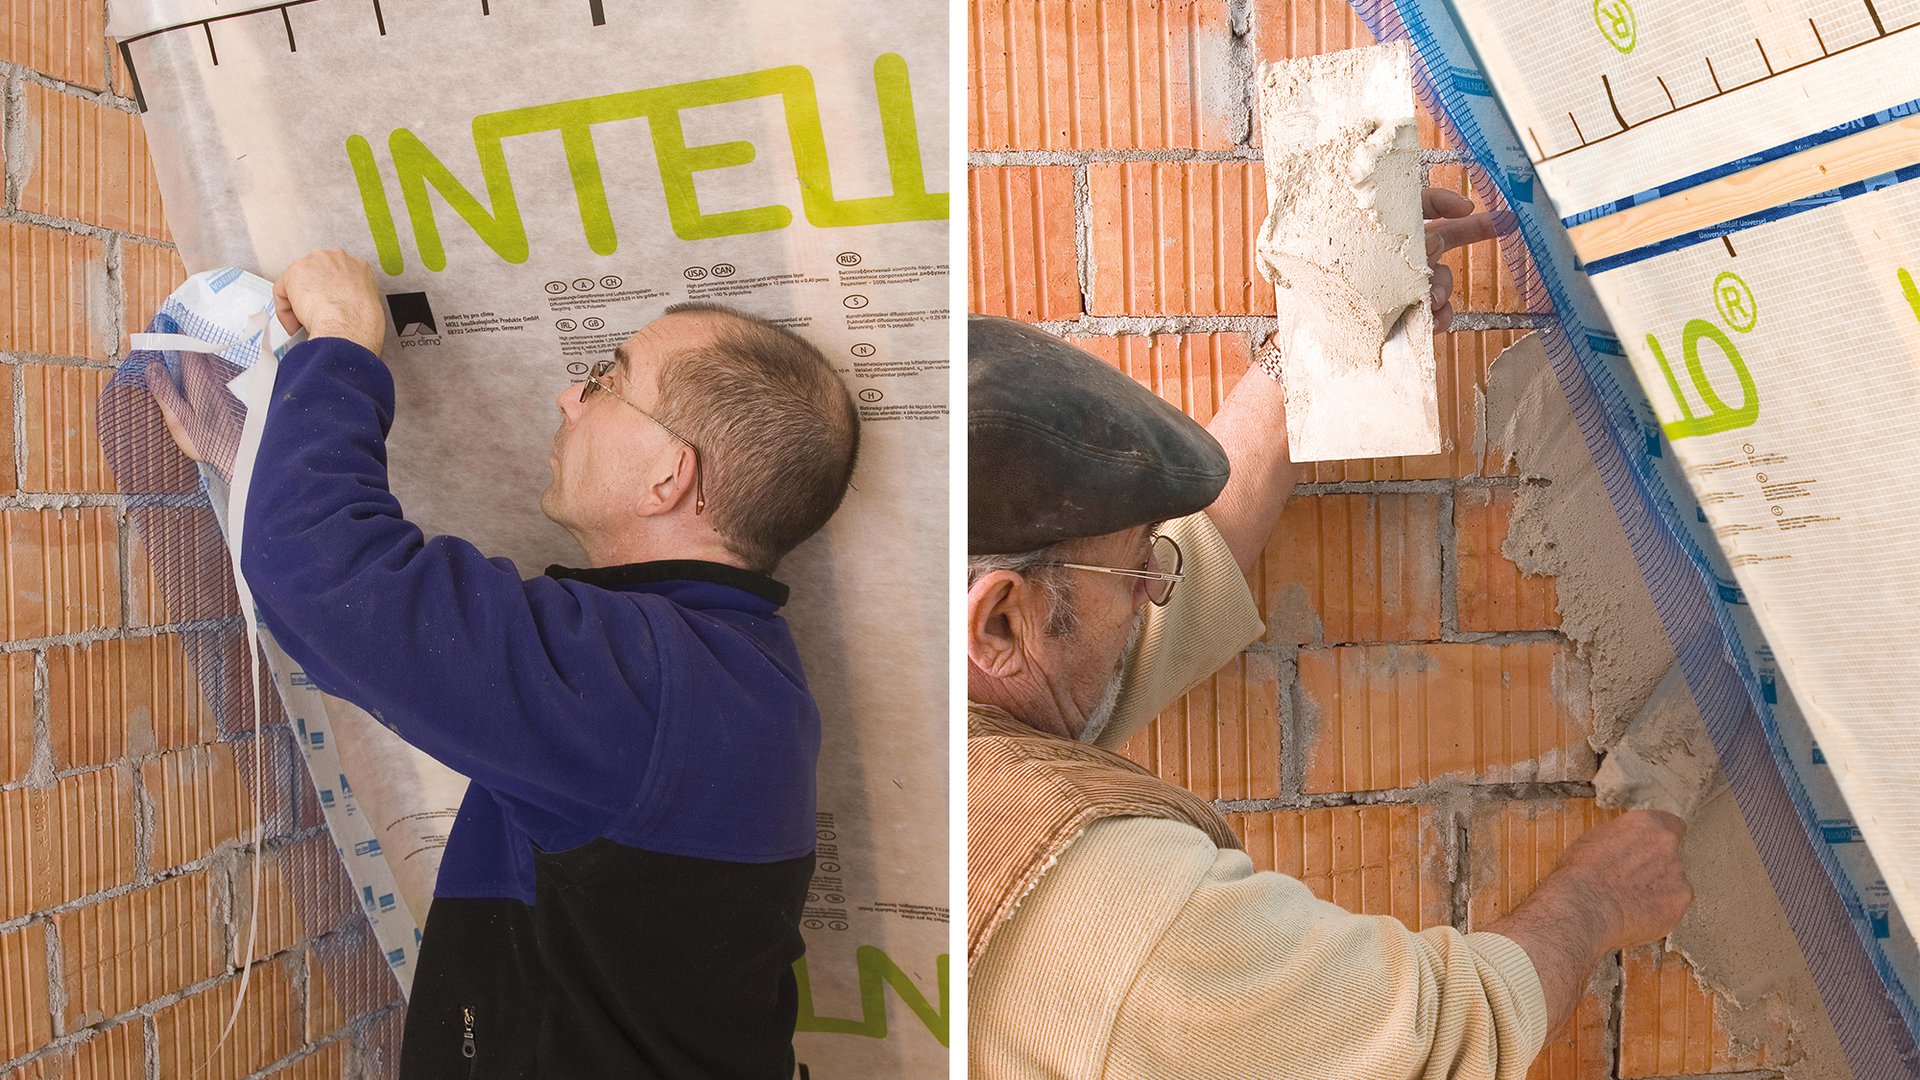
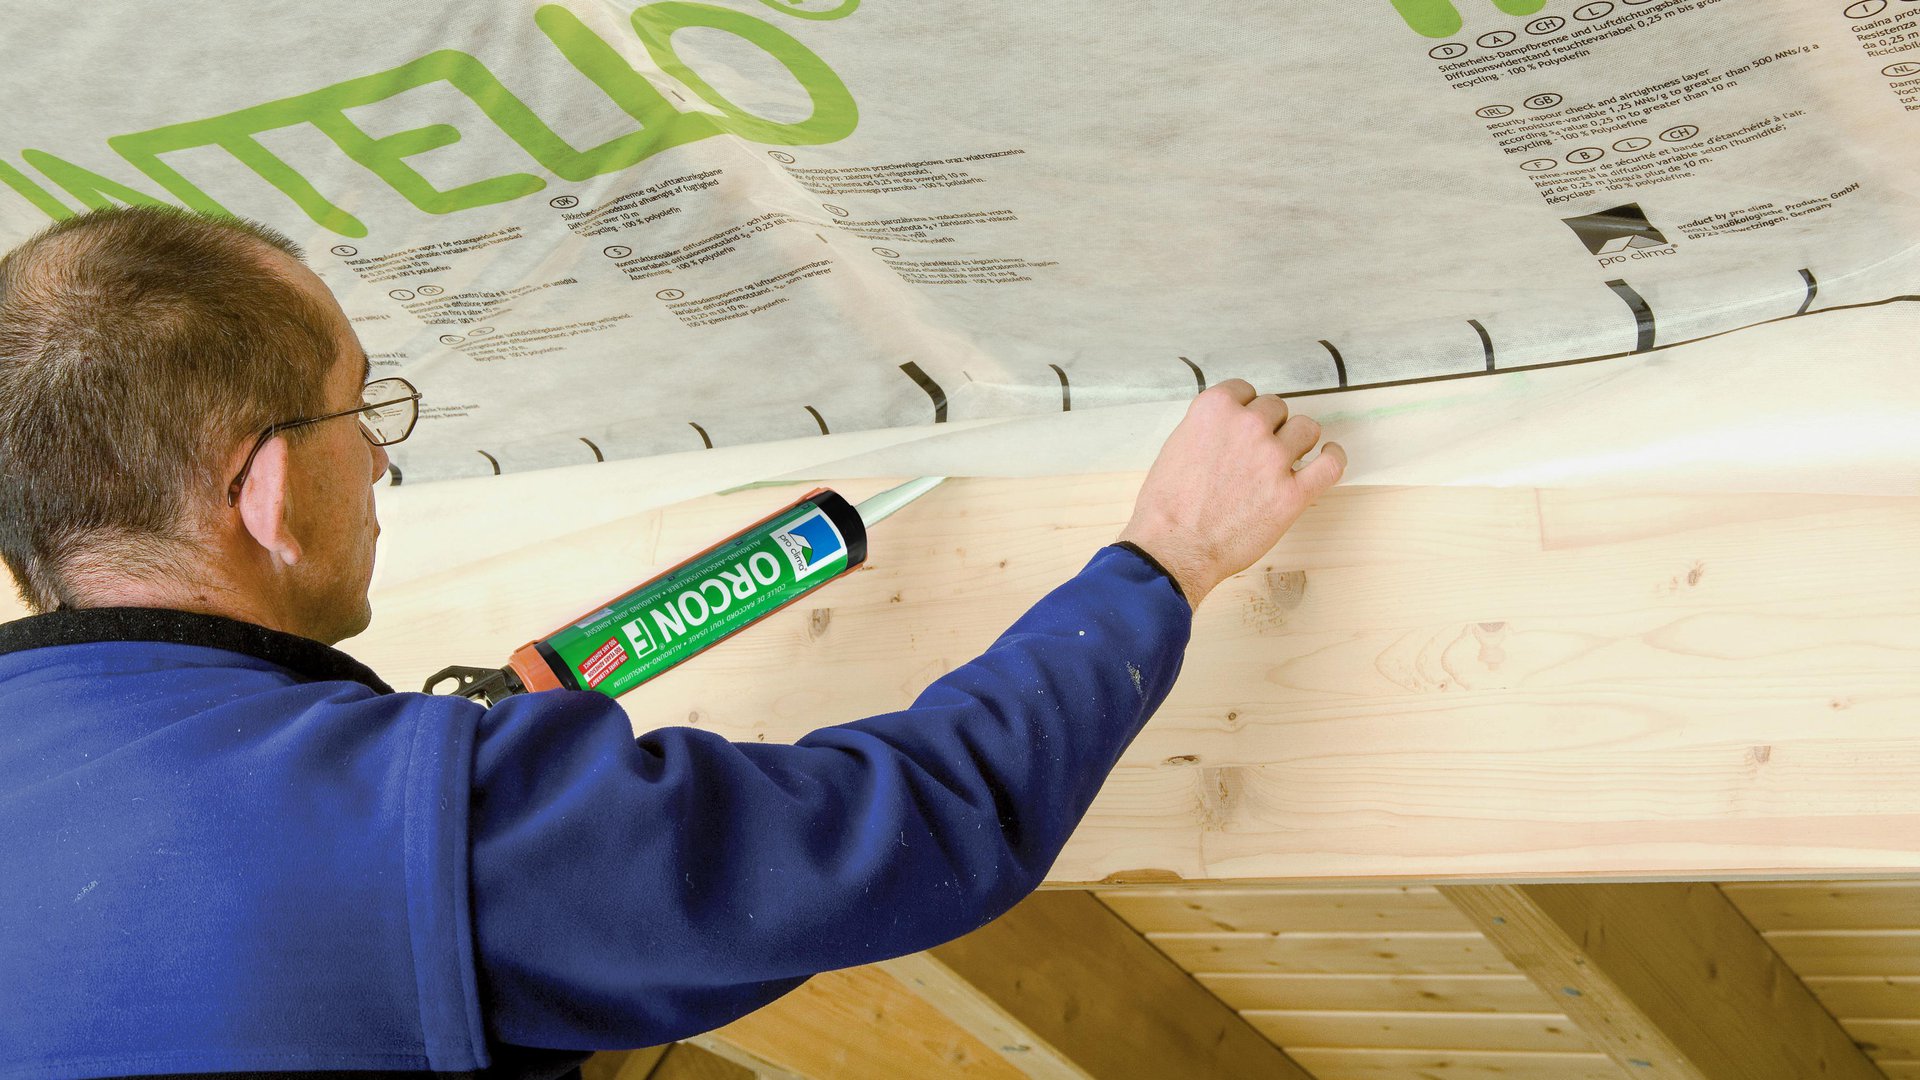
7. Sealing to rough or mineral subsurfaces
Clean the subsurface. Apply a line of ORCON F adhesive sealant of at least d = 5 mm, or more in the case of very rough subsurfaces if necessary. Place INTELLO onto the adhesive bed, leaving slack to allow for expansion. Do not press the adhesive completely flat.
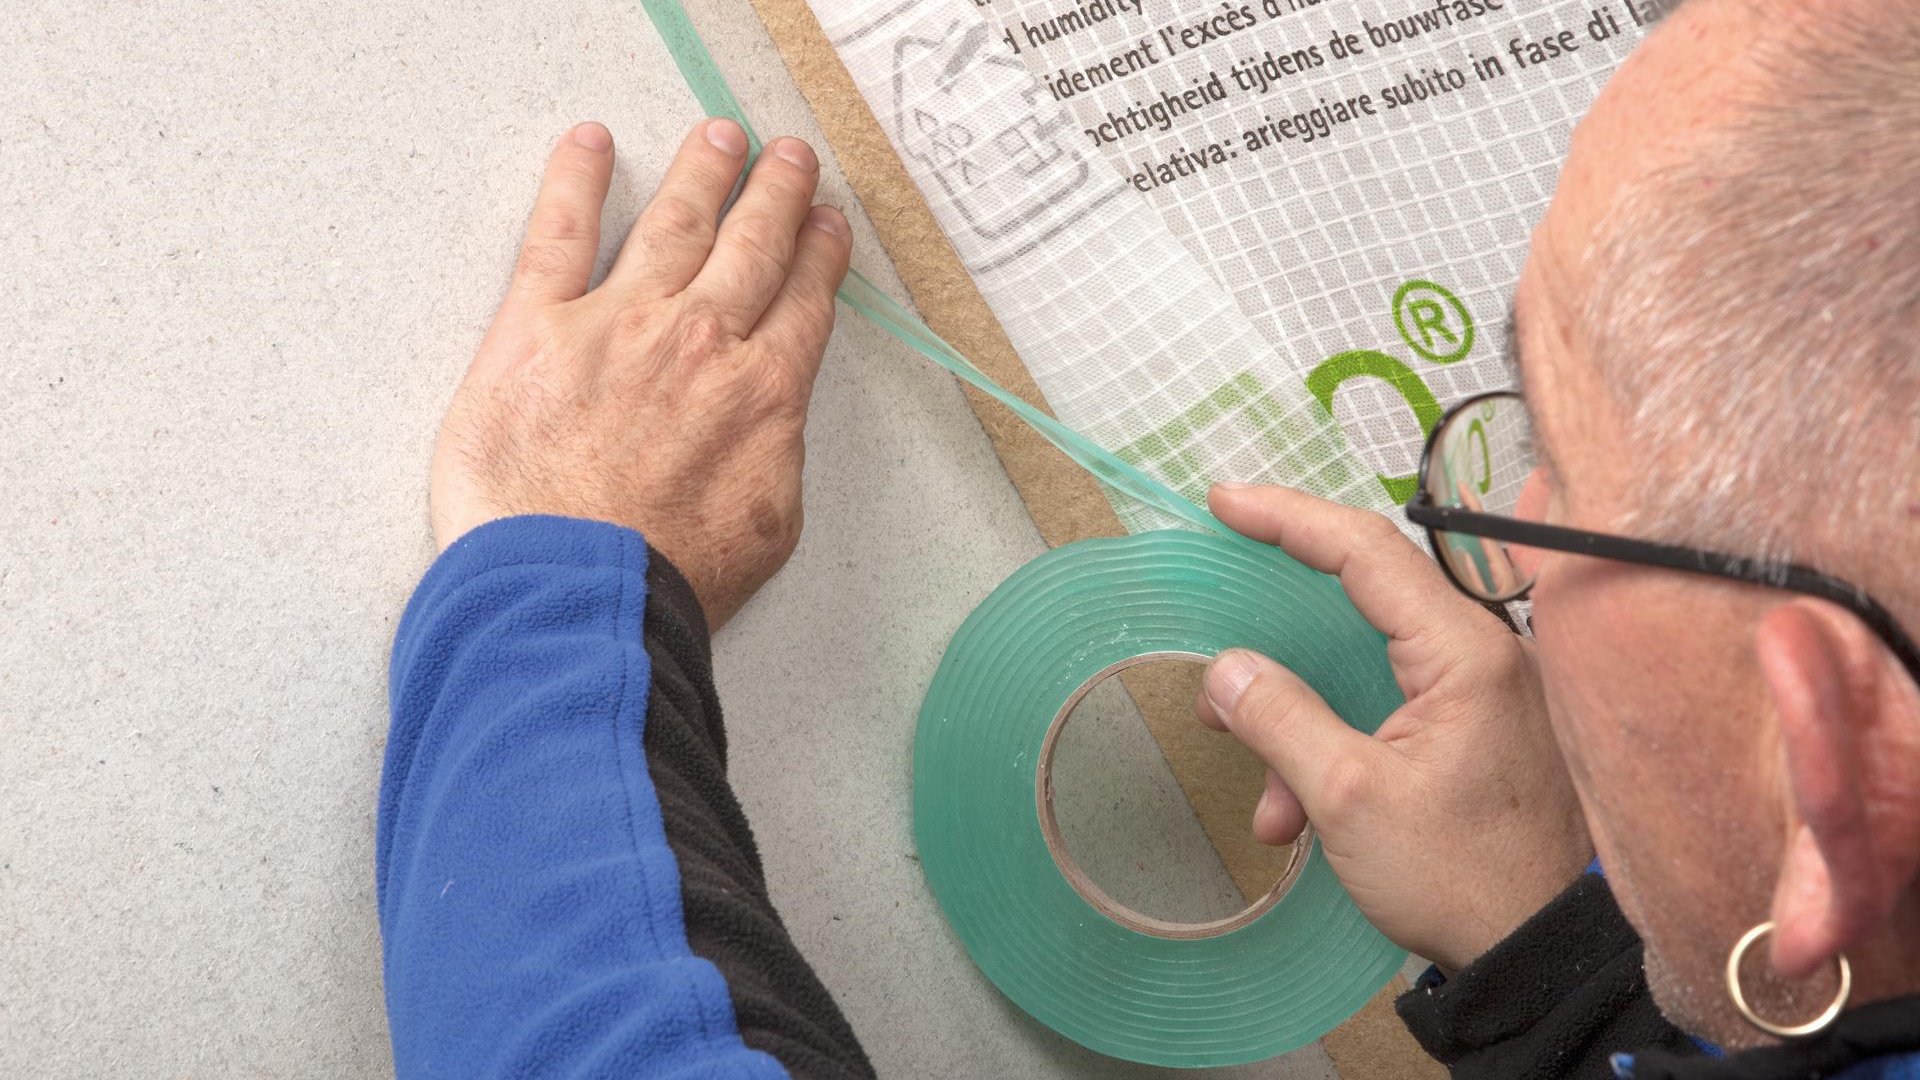
8a. Alternative: Sealing to mineral subsurfaces
Position ORCON MULTIBOND on the subsurface, roll it out and gradually stick it to the subsurface. Gradually remove the release film.
8b. Applying membrane / Rubbing the joint firmly
Apply the membrane onto the adhesive strip, leaving slack for expansion so as to allow for relative motion between components. Rub firmly to secure the adhesive bond using the PRESSFIX. Ensure that there is sufficient resistance pressure.
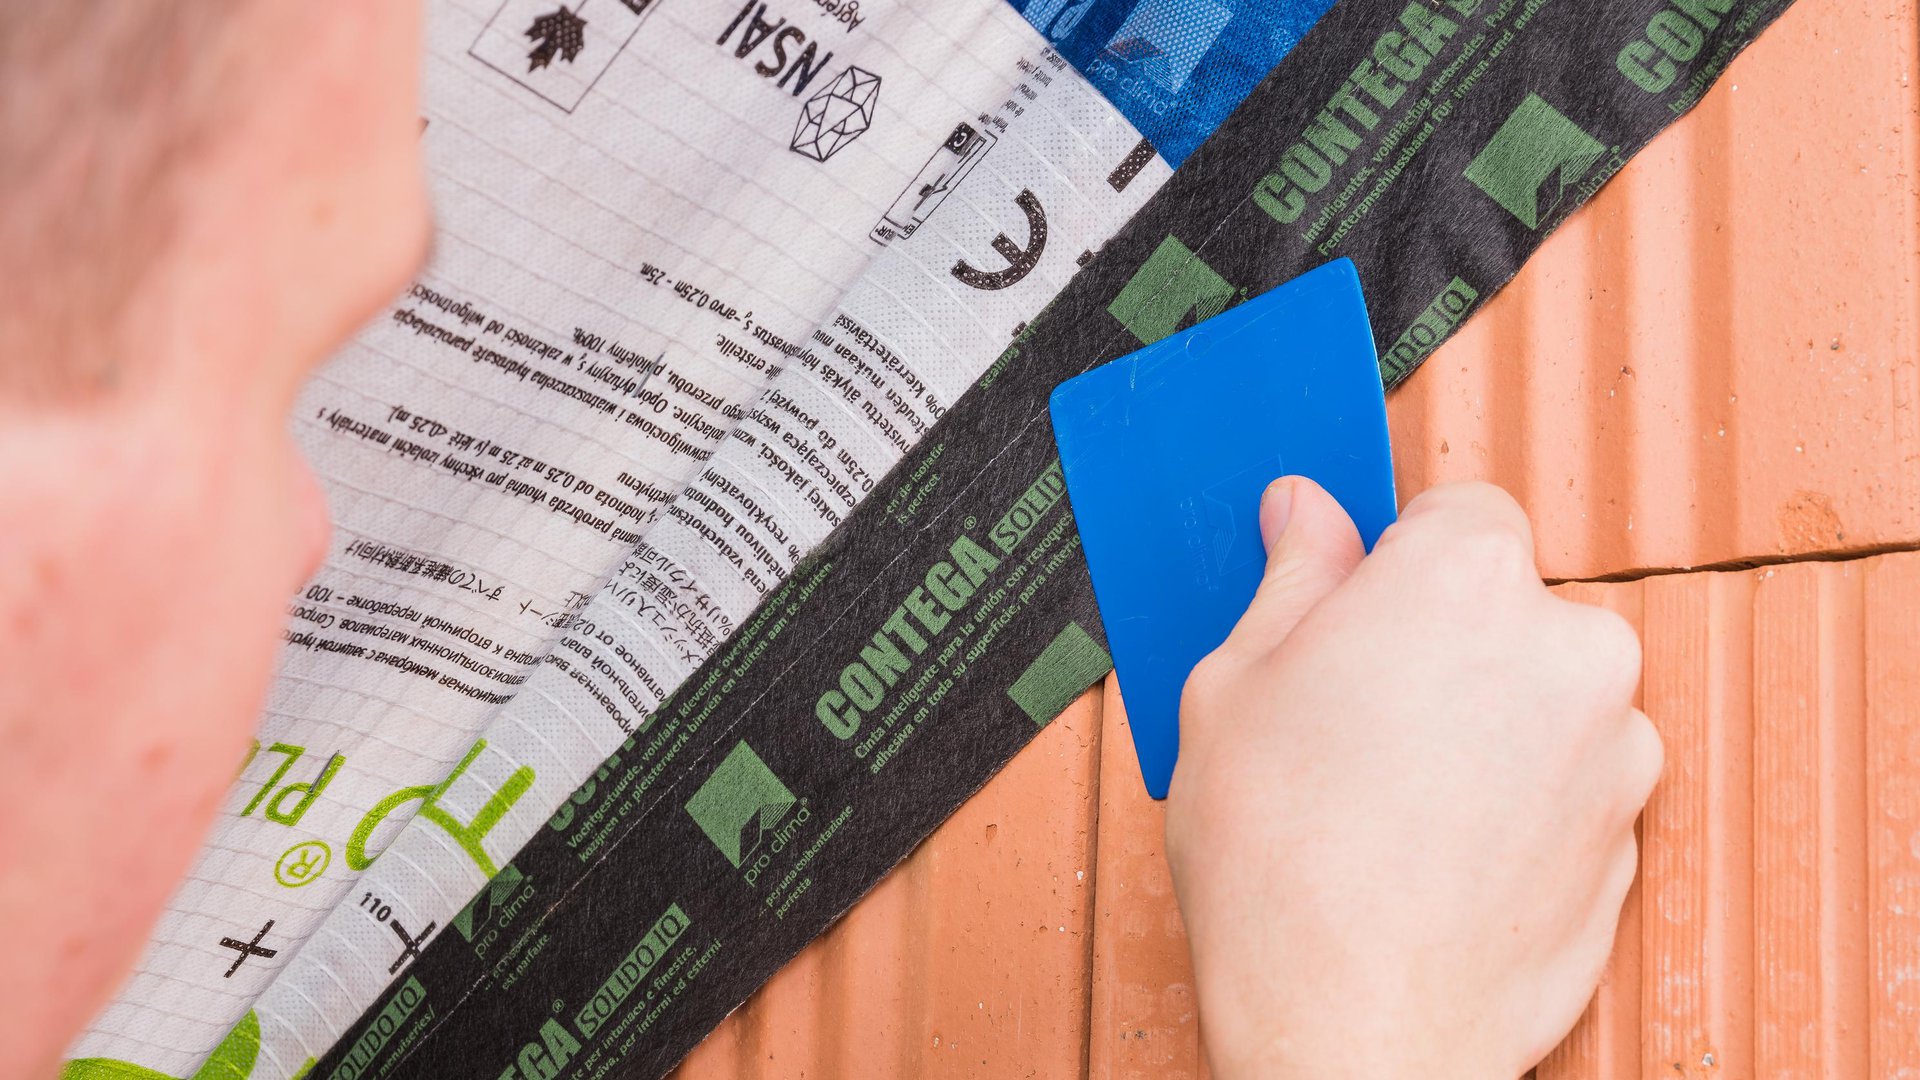
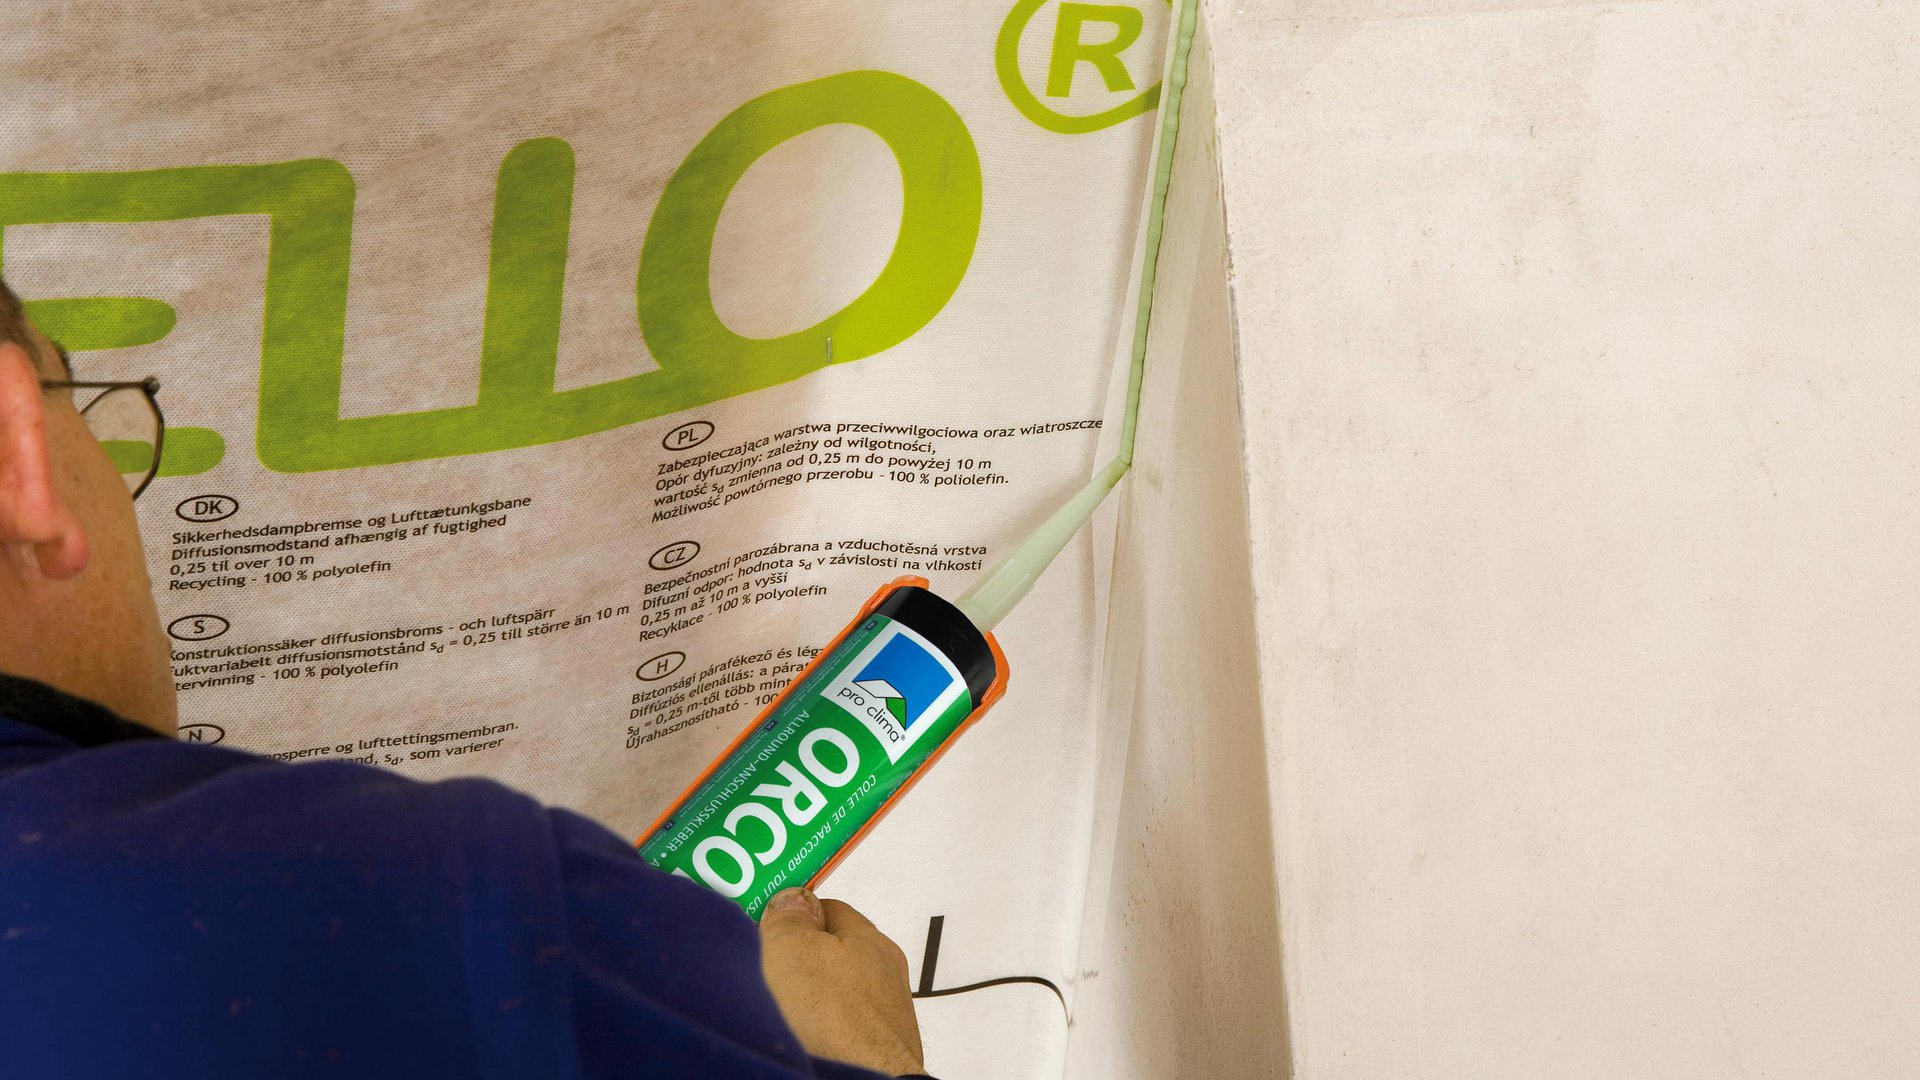
9. Sealing to unplastered subsurfaces
Guide the vapour control membrane into position. Leave slack for expansion so as to allow for relative motion between components.
Remove all release films from CONTEGA SOLIDO SL or CONTEGA SOLIDO IQ.
Centre the tape and gradually stick it in place. Rub the tape firmly using the PRESSFIX to secure the adhesive bond.
To achieve airtightness, plaster over the masonry and sealing tape.
10. Alternative: Sealing to unplastered subsurfaces
Stick the CONTEGA PV plaster-sealing tape onto INTELLO using self-adhesive strips. Ensure the tape remains in place by using ORCON F at discrete points. First plaster behind the tape, then apply the tape to the wet plasterwork and plaster over it fully.
11a. Sealing to roughly sawn timber
Clean the subsurface. Apply a line of ORCON F adhesive sealant of at least d = 5 mm, or more in the case of very rough subsurfaces if necessary. As an alternative, a roll of ORCON MULTIBOND adhesive sealant can be used.
11b. Sealing to roughly sawn timber
Place INTELLO onto the adhesive bed, leaving slack to allow for expansion. Do not press the adhesive completely flat.
12a. Sealing to plastered chimney (insulated or double-shelled)
Seal INTELLO using ORCON F as shown in Figure 7.
12b. Sealing to plastered chimney (insulated or double-shelled)
Then cut into short pieces of TESCON VANA as far as the centre, create corner shapes and then stick in place.
13. Sealing around pipes and cables
Place a KAFLEX or ROFLEX sealing grommet over the cable or pipe and stick to INTELLO. The cable grommets are self-adhesive. Tape the pipe grommets to the membrane using TESCON VANA.
14. Corner sealing
Guide TESCON PROFECT pre-folded corner sealing tape into the corner while the release film is still in place and stick the first independent adhesive strip. Then remove the release film and stick the second independent adhesive strip.
15. Battens, interior cladding
Install battens (e ≤ 50 cm) to bear the weight of the insulation, and install interior cladding to provide protection against UV light and other damage.
16. Quality assurance
It is recommended that airtightness should be checked using a blower door test.
General conditions
Where possible, INTELLO should be installed in such a way that adhesion can be carried out using single-sided adhesive tape on the smooth (printed) side of the sheeting. It should be installed taut and without slack either in parallel with or perpendicular to the supporting structure, e.g. the rafters. In the case of horizontal installation (perpendicular to the supporting structure), the separation distance of the supporting structure is limited to a maximum of 100 cm. After installation, perpendicular battens on the inside at a separation distance of a maximum of 50 cm must be fitted to carry the weight of the insulation material.
If regular tensile loads on adhesive tape bonds are to be expected – for example, due to the weight of the insulation material – when using mat or panel-shaped insulation materials, an additional supporting batten should be fitted over the overlap sealing. When attaching the membranes in the case of mat or panel-shaped insulation materials, a maximum separation distance of 10 to 15 cm applies for the fastening staples, which must be at least 10 mm wide by 8 mm long. The overlaps between the membrane strips must be approx. 8 to 10 cm.
Airtight seals can only be achieved on vapour control (alternate terms: vapour check or retarder) membranes that have been fitted with no folds or creases. Ventilate regularly and systematically to prevent the build-up of excessive humidity (e.g. during the construction phase). Occasional, intermittent ventilation is not sufficient to remove large quantities of moisture due to construction work from a building; use a dryer if necessary.
To prevent condensation formation, INTELLO should be sealed and taped in an airtight manner immediately after the installation of the thermal insulation. This particularly applies when working in winter.
| Components |
|
Fleece Polypropylene |
|
Functional film Polyethylene copolymer |
| Properties |
|
Colour White-translucent |
|
Surface weight 85 ±15 g/m² |
|
Thickness 0.25 ±0.1 mm |
|
Water vapour resistance factor µ 56 000 |
|
sd value 14 ±4.5 m |
|
sd value, humidity-variable 0.25 - >25 m |
|
g value 70 ±22.5 MN·s/g |
|
g value, humidity-variable 1.25 - >125 MN·s/g |
|
Hydrosafe value 2 m |
|
Reaction to fire classification B-s1, d2 |
|
Airtightness Tested |
|
Tensile strength MD/CD 110 N/5 cm / 80 N/5 cm |
|
Elongation MD/CD 40% / 35% |
|
Nail tear-resistance MD/CD 60 N / 60 N |
|
Durability after artificial ageing Passed |
|
Temperature resistance Permanent -40 °C to 80 °C |
|
Thermal conductivity 0.04 W/(m·K) |
|
Passive House Certification phA |
|
CE labelling Yes |